|
| The down lights are too bright for the camera |
I found a trick on YouTube for hanging drywall on the ceiling. You create a wood shelf just below the ceiling and rest one end of the drywall on it as you fasten the opposite side. When that panel is up, you move the shelf to the next panel. It's not dead easy holding a 4' x 5' panel over your head as you screw it in, but it's doable.
The down lights are just a wonderful product. I have (8) installed so far, and each has worked the first time. The Ryobi Speed Saw makes cutting out a near-perfect circle pretty easy, and my work installing the wires and junction boxes has not caused any problems yet, either.
In the photo above, you can see that I've repurposed the 1/2" EPS--they were using the EPS in lieu of drywall--as insulation where the cold concrete wall (of the "vault" under the breezeway) is sucking heat from the workshop. That stud wall also gets batt insulation. The space between studs is about 18", not the 14" that most batts expect. Still not sure how I'll deal with that.
The scraggly-looking wire at the upper right is waiting for me to hang the shop lights exactly where I want them and level them. Then I'll cut the chains to length and tie up the power cord. The scraggly-looking wires in the wall are not all stapled down. I need to turn off the power for that.
A couple of the cabinet drawers were sticking (due to the addition of a mil or two of primer), so I bought a can of dry silicone lubricant. Pretty cool stuff, and it seems to work on the drawers.
I also bought shelf liner for the upper cabinets. I'm not sure why I thought it was worth $14, but it's ribbed plastic, so if paint spills or something...I don't know. It looks cool.
 |
| Ribbed plastic shelf liner. Waste of money, but I like it. |
Tomorrow, I'll cut and install the two final pieces of drywall in the ceiling; mark and cut out the down light holes and install the remaining (4) down lights. I think I'll move the 4-gang outlet lower on the west wall--the nail and screw organizers would have had to be too high otherwise.
Then I'll install the batt fiberglass that I have (about 24' left) and decide whether I need another roll. I want to insulate the completely uninsulated BR3 Hall.
Next, I need to use the left-over steel angle to hang the west-most garage door track from the rafters. It is currently held up by a bungee cord. Unbelievable.
I plan to use the 4' x 3' drywall cast-offs from the ceiling project to close up the east and west walls, so I'll need to install some horizontal blocking to catch the seams. I should have one full 4x8 sheet left, and I haven't decided where it should go.
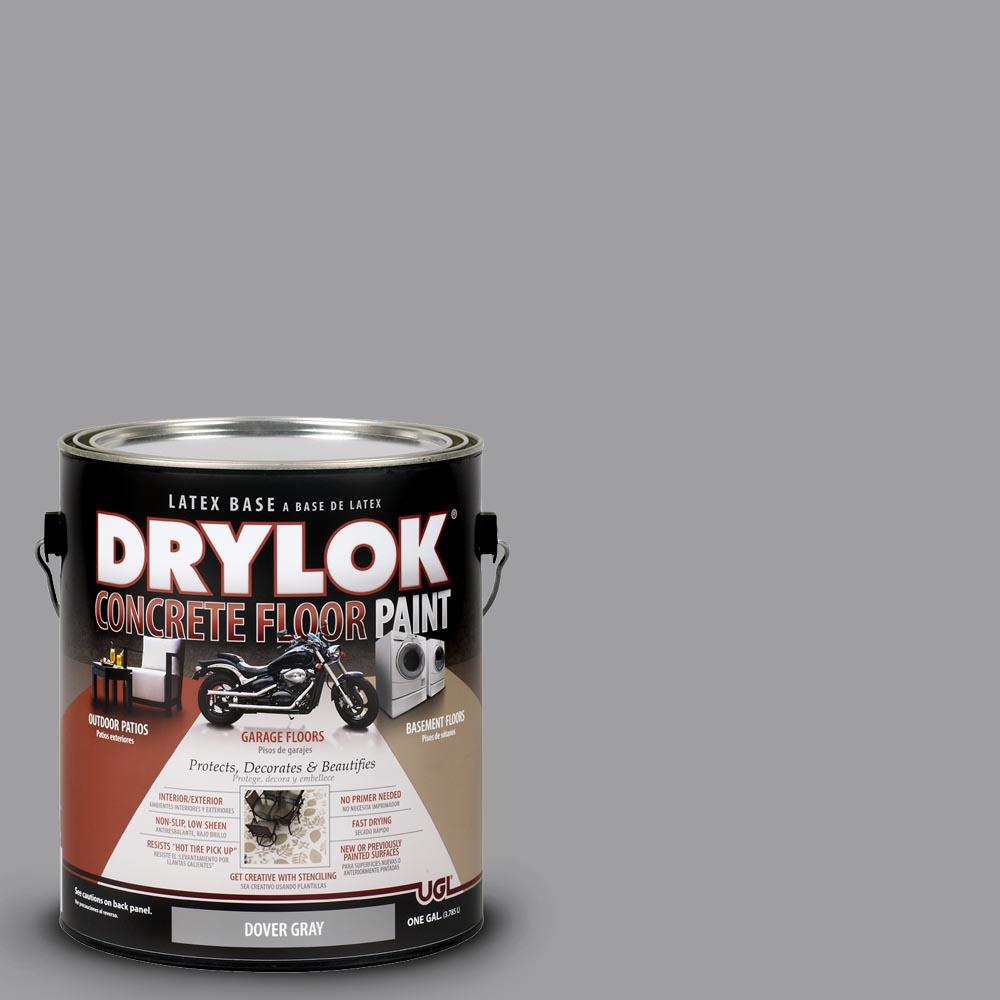
At that point, I'll prepare to paint the floor. A medium gray should be good. The floor has a crack and several rough patches, so I bought a quart of
pre-mixed concrete patch. I'm hoping I can smooth it out and also smooth out the concrete retaining wall at the NE corner. If it works at all vertically, I may play around with sculpting fake bricks to replace the missing bricks in the veneer.
More primer--the west garage door, the edge of the loft. Bare wood begone.
Then I'll paint the floor. I'll return the $130 epoxy paint kit and go for the $35 concrete paint.
After the floor is dry, it's time to build the shelving units. I want to paint the primed particleboard shelves. Then, when I load all the tools and other stuff back in, c'est voila.