Thursday, May 16, 2019

The Stand

So, the high-end Makita LS1030 miter saw has been waiting patiently for the new workshop. It's the most expensive tool I own, and I've used it to create cabinets and miter casing and other molding.

To top off the workshop project, I ordered a $100 steel miter saw stand. Usually, when you get a new thing there are missing parts, or it doesn't work as you expected. In this case, I got a very good product--it's heavy and therefore sturdy. Someone wanting "portable" might be disappointed.
A smiling box left at my "front" door. Sticker says "Heavy" on the front.
The stand has detailed instructions until they just stop--there's no explanation for how to attach the rollers, for example. But it's pretty self-evident.
Solid steel. There are only two price points if you're shopping: $100 or so, and $200 or so. You can buy a $79 stand, but I wouldn't recommend it.
Here's the problem: The Makita saw isn't quite up to snuff anymore. It's at least 10 years old (I'm trying to remember if I had it at Johnson, making it 27 years old). The Makita site lists the LS1030 as "discontinued." The design didn't anticipate miter saw stands like this--it's only got two bolt holes, whereas all modern saws have four. There's a "foot" at the center back, but it doesn't have a hole to accept a bolt.

I can use some of the perforated angle I used on the garage door track to provide a surface for that foot to rest on, but it won't be bolted down. I could fabricate some kind of a "holddown" device using plumber's tape. I know! Bungee cords!

Speaking of cords, though...
The insulation on the cord is just disintegrating. It's bad at the tool, but there are failures all along the cord.
Bolt in front (left), no bolt hole in back (right). Center "foot" hiding behind the cord. I could bolt an angle to span between the supports, but I still couldn't bold it down.
I plan to use the miter saw repairing/replacing the back deck, installing baseboard, replacing the casing molding at BR3, and perhaps doing some kind of wainscoting and crown molding in the living/dining room. I don't expect to need a table saw, and I have my eye on a track saw instead of a heavy duty circular saw. I have a Ryobi cordless circular saw that cuts 2x4s pretty well, but...

So, maybe I need a new miter saw. What I have is a "chop saw"--you can only change one angle. A compound miter lets you tilt the blade as well as setting the table angle. More advanced than that is a sliding compound miter saw. I have a 10", but pros often use 12". Without checking prices, I'm pretty sure I'd like a 10" compound, non-sliding model. Again, without looking at prices, I'd choose DeWalt.

That would be the DeWalt DW713, Amazon sells it for $231.08 (including tax). Home Depot and Lowes $241.12.

Doing a little research, I might want a dual bevel model, so that you can leave the wood where it is and cut the reverse miter. (The alternative is to swing the wood around to the other side.)

Lowe's has these 10" non-sliding miter saws, all single bevel. Delta $117.07; Hitachi, metabo $139; Craftsman $149; Hitachi C10FCH2 Laser $179.59; DeWalt DW713. I might like the more expensive Hitachi, but it is currently unavailable.

Home Depot has Genesis $117.73; Ryobi $135; Shopmaster $179; DeWalt DW713; Ridgid dual bevel $219;

Monday, May 13, 2019

Floor Paint and Shelving

The project is coming to completion. It started about April 12 (I bought a cobweb duster, Pine-Sol and mouse traps) and it's been a month. The tally for everything, including new tools, replacement filters, and the painting experiment on the living room ceiling and garage exterior, is $1,432. $130 for drywall and $215 for paint. $459 for new lights and other electrical stuff. $290 for a new sander, a brad nailer, speed saw, and new filter for the Shop Vac. Lots of miscellaneous. All of it at Seattle's 10.1% tax rate.

With the drywall all patched in there, I focused on the concrete floor. It's a poster child--rough areas, depressions, and stains of various colors. I found some excellent, ready-mixed concrete patch. It's the consistency of toothpaste mixed with sand--you can really push it into cracks (like the one that runs left to right just past the post in the photo above). It's harder to get it to fill big depressions. Maybe if I had a 12" trowel (and the skill to use it)...


After patching, I used an "etch and clean" product on Thursday. Pine needles and bugs blew in, but the concrete was completely dry when I started painting on Friday. I waited seven hours, as directed, and gave it a second coat, rolling 90-degrees to the first, at sundown. It had all day Saturday to cure.


Sunday morning, I unpacked the steel shelf components and tried hard to remember how they went together. It was easy once I got started (oh yeah? then why did I have to re-do most connections two or three times?). The plan called for both shelves to touch exterior walls, but I decided to move the east-most to the post. This lets someone walk at the man-door and walk directly to the overhead door.

I bought a double-sided deadbolt for the man door. This keeps the future tenant out of my storage area and stops someone from breaking into the house using the garage. I've discovered that the overhead doors can be opened a little for ventilation--if a thief opens them all the way, I don't want them in the house, too.

The problem with the deadbolt, discovered just before I drilled the 2-1/8" hole for it, is that the man door is El Cheapo, with solid wood only where the existing lockset is. I need a new 30" door someday, but for now I decided to swap the passage lock for the new deadbolt and order a set of dummy knobs. The BR3 lockset is 'Tylo' by Kwikset, so I matched it.

So, Monday will be about moving things into the new digs. I haven't sorted through the stuff as much as I wanted, but that process will be easier thanks to the new cleanliness and structure. I plan to put long-term storage items, like the yellow umbrella, on the loft. We'll see how that goes.
State of the Workshop, Monday, May 13, 2019

Monday, May 6, 2019

Nearing Completion

As of Monday evening, I have 13 pieces of drywall to cut out and attach, but I not only have the list of the pieces I need, I have worked out how I'll make them from the scraps of drywall I have at hand.
Some of the tools are stowed in the cabinets; the nail/screw organizers are in place
I bought the last two 4x8 sheets of drywall I need for $25. Then, I rented a truck from Home Depot for $25 and took the drywall home. Then, I bought more stuff at Home Depot for $25.
Drywall is heavy. The sheets I bought are stamped "Ultra-Light." Uh-huh.
I cut and fabricated the steel angle support for the west garage door track.
This replaces the bungee cord. <Shaking my head.> Oh look, there's one of the 13 drywall pieces I need to cut.
I cleaned everything off the floor so that I can evaluate it. It actually has sags, like an old mattress. I bought concrete filler and I'll use it, but I don't think we need acid etch or anything fancy. This slab is near end-of-life. I plan to buy this stuff on Tuesday:
A gallon covers 500 square feet, and they recommend two coats, which should still leave 1/4 of the can. They mention that you can use the color flakes (sold separately) with this paint. I'm torn. They also sell a clear top coat product, and that seems like a good idea. However, you can't apply it until the paint has been on for 3 days (72 hours). Also, the clear coat is $38.50/gallon, while the paint is only $35.76.
Rough patch in lower right...odd "sag" at center top. I really don't care much about either. Paint it.
So, Tuesday looks like a lot of cutting drywall and screwing...so much screwing. I may fling some drywall mud around, or not. Just cosmetic stuff, mostly because they didn't build the frame square. If that doesn't take all day, I'll smoosh concrete patch in places so it'll have time to dry.

Then the primer comes out again--the east door gets a second coat, the west door gets a first coat. Paint on the particleboard shelves. Then cleaning the concrete floor--just a good vacuuming and mopping, I think. And last, painting the floor. They recommend rolling it a single direction, then, 6 hours later, roll the second coat on 90-degrees to the first direction.

Sunday, May 5, 2019

Sunday Evening Status

This project is coming in for a landing. Sunday, I was an insulation installer. I've bought 64' of R-13 batt insulation and I've used all but a couple of feet. I need to insulate the wall between the BR3 Hall and the BA3, and then insulate the ceiling of the BR3 Hall, but everything else is done.
Insulation complete
The builders of the workshop saw no reason to install studs at 16" o.c. (They also used 2x4s to frame the 10' 6" wall at the stairs when code says 2x6.) I tried to find wider rolls (Home Depot sells R-11 for studs 24" o.c., but only in large quantities), but I ended up just biting the bullet and splicing my own wide batts. (The R-11 batts would have had to be cut, anyway.)

I took an inventory of Needs and Haves for drywall. Need 17,200 square inches. Have 11,100 square inches. No matter what kind of Tetris games one plays, I need 6,000 more square inches (a 4'x8' sheet is 4,608 square inches), so I put out the bat signal for John Jones. Two sheets should be easy compared to the six sheets he helped me lug last time. Since I'm going to have a full sheet, I'll use it on the wall to the left in the photo above.

I feel a bit like Howard Roark in The Fountainhead, in that I've been feeling the cold air drafts as I've been working, and the fiberglass batts really are comfy cozy, like a blanket. Not just pencil and paper; I feel the architecture.

We're getting close to done. I didn't go to the home improvement store at all today. :-) I sanded the patch in BR3 and the final coat made a big improvement--there are still some imperfections visible in the LED side light, but I'm declaring victory.

Punch List
  • Cut and install the various pieces of leftover drywall
  • Install the perf angle to support the west-most garage door track--this will entail cutting the long angle.
  • Apply tape to hide gaps in loft ceiling drywall. 
  • Install nail/screw organizers and power strip (blocking and drywall are in)
  • Sweep and vacuum the floor in order to see imperfections
  • Paint particleboard shelves
  • Apply concrete floor patch as needed
  • More primer: Prime the west garage door, the edge of the loft
  • Buy garage floor paint (forget the laminate floor ideas)
  • Wash the floor, apply acid etch, wash again
  • Paint the garage floor
We're not done yet, but I can see the end. Just about a month, just about $1,100. Worth it.
Sunday afternoon

Saturday, May 4, 2019

Thinking About the Floor

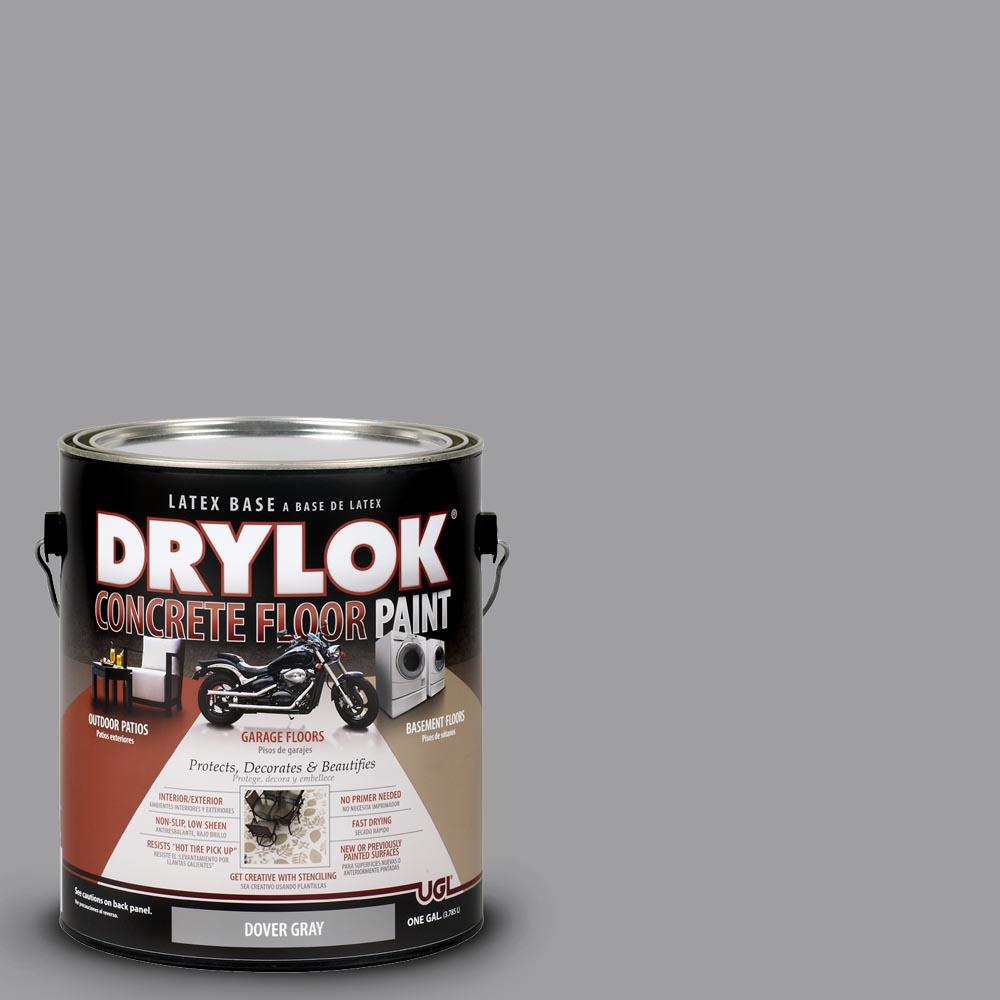
I bought Gray, not Tan
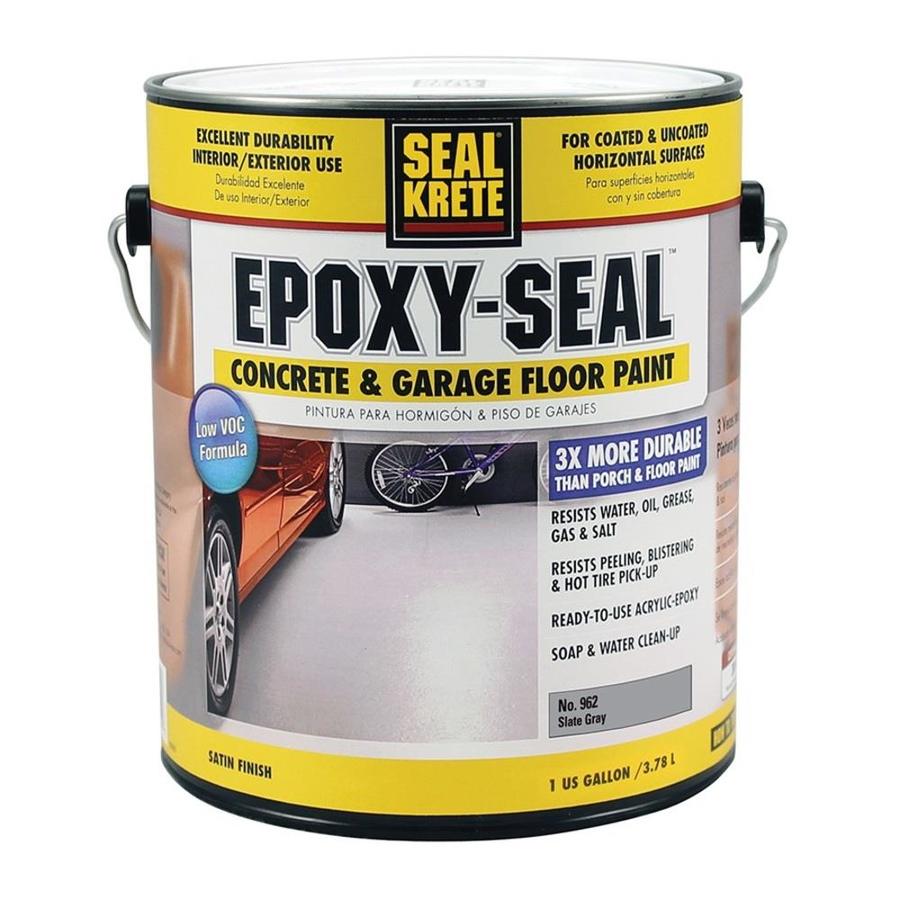
The plan had been to give the concrete a slick, glossy epoxy treatment, like a kick ass garage where everyone wants to park their Ferrari. I bought a kit from Rustoleum for that purpose. It's $140 and requires pressure-washing, patching, acid etching, then careful application for good results.

I returned it tonight when I realized that a simple concrete paint product would give me the kind of consistent, finished look I want. The walls aren't painted; the drywall is patchwork. It's not a Ferrari showroom.

I should still wash, patch, and acid etch the floor, but Drylok makes a paint for $38 a gallon that looks good.
Drylok "Dover Gray" covers 500 SF/gallon

But then, I saw a YouTube video where they finished a basement with a 1/4" interlocking vinyl tile product called LifeProof. It requires no underlayment, it looks like Pergo, and has built in cushioning. It would cost about $600 to do the workshop.

That's the thing: It's a Workshop, not a Garage. It will never have a car on it. Before recent developments, the space always seemed to anticipate being converted back to a garage someday. Now it has a different vibe and the floor could be part of that.
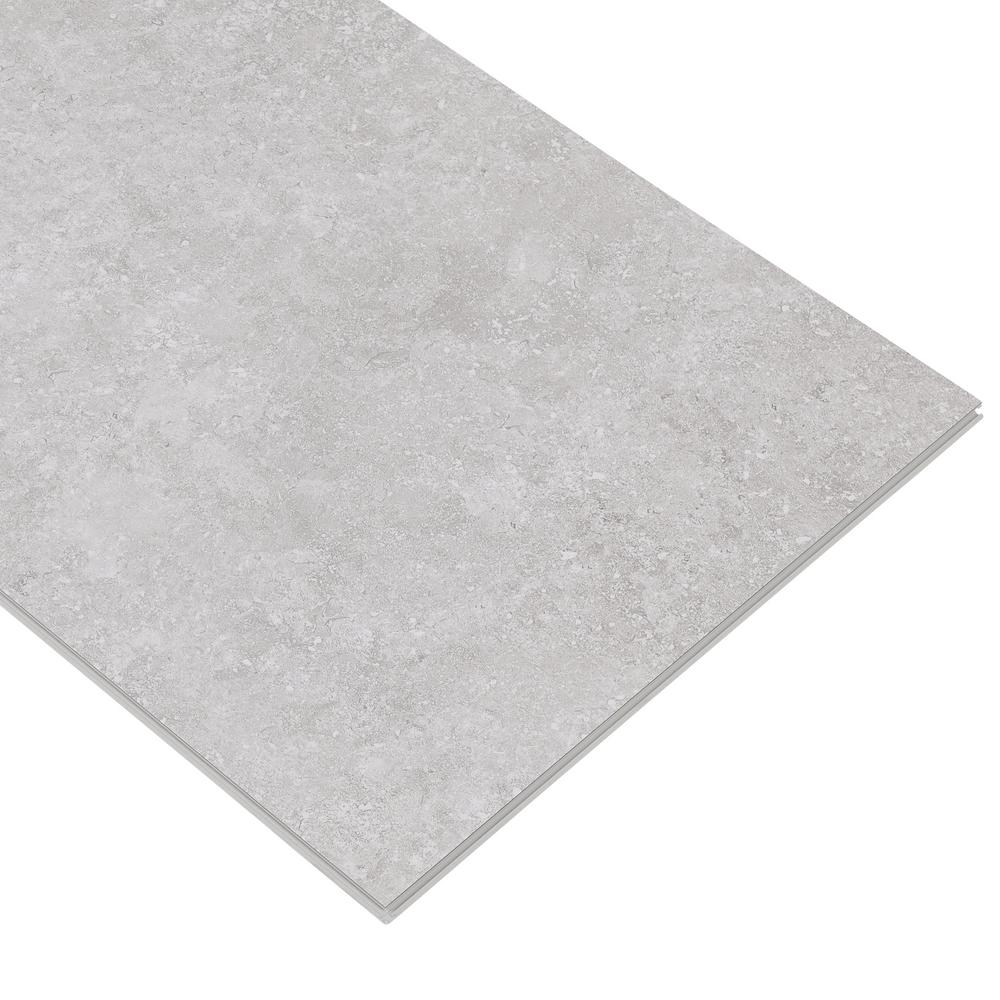
"Starry Light" a 16" x 32" LifeProof tile
The product has a ceramic bead overlay on a "virgin vinyl" and Isocore core, bonded to a black rubber-ish "sound-mitigating underlayment with Ultra-Fresh treatment." They make matching thresholds and quarter-round "shoe" moldings. 8 cases = $595.36. (6) 7'10" quarter rounds would be another $60.

Lowes has an interesting industrial-looking product called Smartcore "Siena Stone." 12 cases would be $618.24.

Armstrong makes a "luxury vinyl tile" (LVT) product called "Alterna"--the color "Hint of Gray" is available in 8 x 16 and 12 x 24. Great Floors sells it, but doesn't have prices online.

Home Depot has a 12mm laminate flooring Helvetic Floors product. Looks like $2.29/SF. I need 189 SF, including 10% waste, so... $432.81. Actually, it's 14 cases, so...$459.34. It's 5mm, not 12mm, so I don't know why they say that. 5mm = 0.197" (about 3/16").

Home Depot sells Marmoleum Eternity 9.8mm thick 12 x 36 laminate flooring. I would need 10 cases, so...$974.30. Yikes. But it looks good, doesn't it?
Marmoleum Eternity
Pergo seems focused on wood, but they make "Glazed Oak" that's fairly gray. I would need 12 cases, so...$566.76.

We could spend <$100 on acid etch and concrete paint, or we could spend $460-$975 on a floating plastic floor. It's a tough call for me--on the one hand, everything is just rough and unfinished in the workshop, so a painted concrete floor is probably fine. But on the other hand, the floor could make an awesome first impression for a buyer.

Friday, May 3, 2019

Ceiling Isn't So Hard After All

The down lights are too bright for the camera
I found a trick on YouTube for hanging drywall on the ceiling. You create a wood shelf just below the ceiling and rest one end of the drywall on it as you fasten the opposite side. When that panel is up, you move the shelf to the next panel. It's not dead easy holding a 4' x 5' panel over your head as you screw it in, but it's doable.

The down lights are just a wonderful product. I have (8) installed so far, and each has worked the first time. The Ryobi Speed Saw makes cutting out a near-perfect circle pretty easy, and my work installing the wires and junction boxes has not caused any problems yet, either.

In the photo above, you can see that I've repurposed the 1/2" EPS--they were using the EPS in lieu of drywall--as insulation where the cold concrete wall (of the "vault" under the breezeway) is sucking heat from the workshop. That stud wall also gets batt insulation. The space between studs is about 18", not the 14" that most batts expect. Still not sure how I'll deal with that.

The scraggly-looking wire at the upper right is waiting for me to hang the shop lights exactly where I want them and level them. Then I'll cut the chains to length and tie up the power cord. The scraggly-looking wires in the wall are not all stapled down. I need to turn off the power for that.

A couple of the cabinet drawers were sticking (due to the addition of a mil or two of primer), so I bought a can of dry silicone lubricant. Pretty cool stuff, and it seems to work on the drawers.

I also bought shelf liner for the upper cabinets. I'm not sure why I thought it was worth $14, but it's ribbed plastic, so if paint spills or something...I don't know. It looks cool.
Ribbed plastic shelf liner. Waste of money, but I like it.
Tomorrow, I'll cut and install the two final pieces of drywall in the ceiling; mark and cut out the down light holes and install the remaining (4) down lights. I think I'll move the 4-gang outlet lower on the west wall--the nail and screw organizers would have had to be too high otherwise.

Then I'll install the batt fiberglass that I have (about 24' left) and decide whether I need another roll. I want to insulate the completely uninsulated BR3 Hall.

Next, I need to use the left-over steel angle to hang the west-most garage door track from the rafters. It is currently held up by a bungee cord. Unbelievable.

I plan to use the 4' x 3' drywall cast-offs from the ceiling project to close up the east and west walls, so I'll need to install some horizontal blocking to catch the seams. I should have one full 4x8 sheet left, and I haven't decided where it should go.

At that point, I'll prepare to paint the floor. A medium gray should be good. The floor has a crack and several rough patches, so I bought a quart of pre-mixed concrete patch. I'm hoping I can smooth it out and also smooth out the concrete retaining wall at the NE corner. If it works at all vertically, I may play around with sculpting fake bricks to replace the missing bricks in the veneer.

More primer--the west garage door, the edge of the loft. Bare wood begone.

Then I'll paint the floor. I'll return the $130 epoxy paint kit and go for the $35 concrete paint.

After the floor is dry, it's time to build the shelving units. I want to paint the primed particleboard shelves. Then, when I load all the tools and other stuff back in, c'est voila.


Thursday, May 2, 2019

Down Lights Work!

Yay. I haven't tested 12 LED fixtures, but I tested all 12 junction boxes--this one LED fixture works at all 12 locations. I have named them Peter, Thomas, Judas, James, John, and so on.
That bundle of 550 lumens hides a puck-shaped downlight
I'm thinking of changing the order. Instead of Last Supper, I'm thinking it should be alphabetic by their father's names.

Seriously, the testing approach is intentional. I now know, before I put up the drywall, that each junction box can power a light. Any of the 11 down lights still in the box might not work, but I won't spend time wondering if it's the junction box.

Also, I think I have an idea to make drywall installation easy without a drywall lift, a plasterboard hoist, or a helper.

Closet Lid

So they framed the closet for BR3 with 2x4s to hold up the drywall ceiling. They stuffed the voids with R-13 insulation, and to close it up, rather than using plywood as they did over the main BR3 ceiling, they repurposed a butcher block table of some sort. Maybe it was a coffee table.
This is the closet lid, all cleaned up. I need to add some R-13 in the wall to the left (the BR3 Hall is effectively uninsulated).
There are several stains on the butcher block lid--in the nature of coffee mug stains, but unsightly. I wonder if I should just prime it white? I plan to insulate the BR3 Hall, and I want to close up these walls with un-taped drywall.

The "lid" is held down by two screws.

Wednesday, May 1, 2019

Rough-in for Down Lights

Almost done. Steady, nose to the grindstone work.

Wires ready for a junction box.
Twelve junction boxes for twelve lights, true. But that's 23 wires to cut to length and staple in place. 23 wires to remove the outer shielding from the last 2.75". 46 white and black wires to strip 3/8" from. 23 plastic strain reliefs to install.

Pinching the 23 strain reliefs into the junction boxes has been difficult. You might even say painful, given that I drew blood last night. :-)

Then we direct the wires into the push-in connectors in the boxes. Each box has 6 wires to attach--that's 72 wire push-ins.
I decided to always use the same two punch-outs for the wires. From the switch is always on the left (in this photo), to the next light is always on the right. I love that the light company supplies the connectors.
Hooking the whole assembly to power won't be a piece of cake, nor will it be that hard. You may recall me whining about lack of room in the switch junction box in an earlier post. At the moment, I have 9 more junction boxes to finalize before I move on to the switch. When I do the switch, I'll be using my birthday head lamp, since the power will be off. I expect to do the switch (and test each box) tomorrow (Thursday afternoon).

Installing Cool New Lights

This should be fun. It may be overkill, but if so it's an experiment to show architectural clients.

The shop lights are flooding the space with 9600 lumens and I couldn't be happier. However, when the garage doors are closed, the area under the loft feels a little shadowy--and that's the part where I expect to work. These LED downlights put out 550 lumens, and I have six at each garage door, so that's another 6,600 lumens in the room. The shoplights are motion-sensitive, but the downlights are on a separate switch.

It appears to be a 4" downlight (the orange tabs
will be hidden by the drywall).
The thing about these particular lights is that they are only about as thick as drywall, so you can place them under joists. My layout avoids that, but you don't have to.

The 'ballast' in these LED lights is called the driver, and it's housed in a small metal junction box, where you do your connections. You carefully cut a 4.2" diameter hole, reach into it to find your power wire, attach it to the junction box and then put the junction box into the ceiling, just resting on the drywall.

I thought about it for a few days and decided that I want to pre-wire the junction boxes. After the drywall is in place, I'll cut the hole, reach up and find the white connector wire coming from the box, attach it to the LED light and install the light. I'll still leave enough power cable in the ceiling to be able to pull the junction box through the hole. By pre-wiring, I'll be able to test everything before I put up the drywall. My location can be approximate--the layout that matters is the one I draw in pencil on the drywall.
The first and second boxes are installed. I added the gray strain-reliefs so that the sharp metal box doesn't scrape the Romex wire. Also note the push-in connectors instead of wire nuts--the lights come with the connectors.
The power wires are stapled into place at about the light's location (in the east-west direction). There should be 12-14" of slack in the ceiling when everything is done. For maintenance, I'll be able to pull the junction box through the hole to open its cover.
I'm done with priming for a while. For now, I'm an electrician. This door was a hideous dark brown--the second coat of primer should be a lot less blotchy. The other door is bare wood.
I was very happy with how this turned out, until I invented a new trick...
Shine a bright LED flashlight on it from the side and we see the imperfections and (saddest of all) the joint tape.
So, the Bedroom #3 wall needs a skim coat of drywall compound at the coffee maker (the refrigerator hole below looks okay). I have expanding urethane foam for the voids around the hallway/garage door. The plan is to install and test the 12 downlights, then cut the drywall for the ceiling under the loft. I'll see if I need to rent a drywall lift--it's only 5 pieces, and they are less than full sheets.

Once the drywall is in, cut the holes, set up the lights and phase 2 of the electrical is done. There's a lot of miscellaneous drywall I want to do--just to hide the studs and insulation. The tall wall at the east between the garage and the BR3 Hall is completely uninsulated--what R-value does 1/2" gyp bd have, exactly? No wonder it gets so cold down there.

But that's about it. Button up the walls with drywall, paint the steel shelves, epoxy coat the floor and move stuff back in. I bought the epoxy paint today--I was so happy that they make a 1-car garage size so that I wouldn't be wasting material.

I'm targeting May 11 for project completion. Then it's on to the post light, the deck, and a bunch of other things, but I'll have all my tools and everything else ready to go.


Sunday, April 28, 2019

Sorting out the tools

Here's a stake in the ground for how I'll store stuff in the existing cabinets.

Pliers includes the socket wrench set, vise grips, and other wrenches. Maybe clamps go in that drawer, too.

I have some canvas drop cloths--maybe they go in the cabinet with the 300' tape? The plastic tool caddy needs a place, too.

The Ryobi tools include:

  • Drill
  • Circular Saw
  • Reciprocating Saw
  • Grinder
  • Nail Driver

Levels, pry bars, hand saws will hang on the wall.

Meet the neighbors - 823 NW 118th Street

Me-HI-la (Mihaila?) and Mihai Jiplea. I just knocked on the door and met Mihaela.  They have four dogs.

She said Dave got sick suddenly and she hasn't heard how he is doing.

Told them I'm fine with dogs.

Mihaela sent an email:

Mihaela Constantinescu mihaelac.mihaelac@gmail.com

1:58 PM (4 minutes ago)
to meMihai
Hello! Thank you for coming to say "Hi!" to us! We are very pleased that you visited us, feel free to do it more often.

I also added my husband — Mihai — you're welcome to email or text us anytime!

Our phone numbers are: (206) 739-6656 Mihaela/Ella
(206) 739-6818 Mihai  [his email is mihai@jiplea.com]

Looking forward to seeing you soon! 
Thank you,
Ella


Friday, April 26, 2019

Lighting revisited


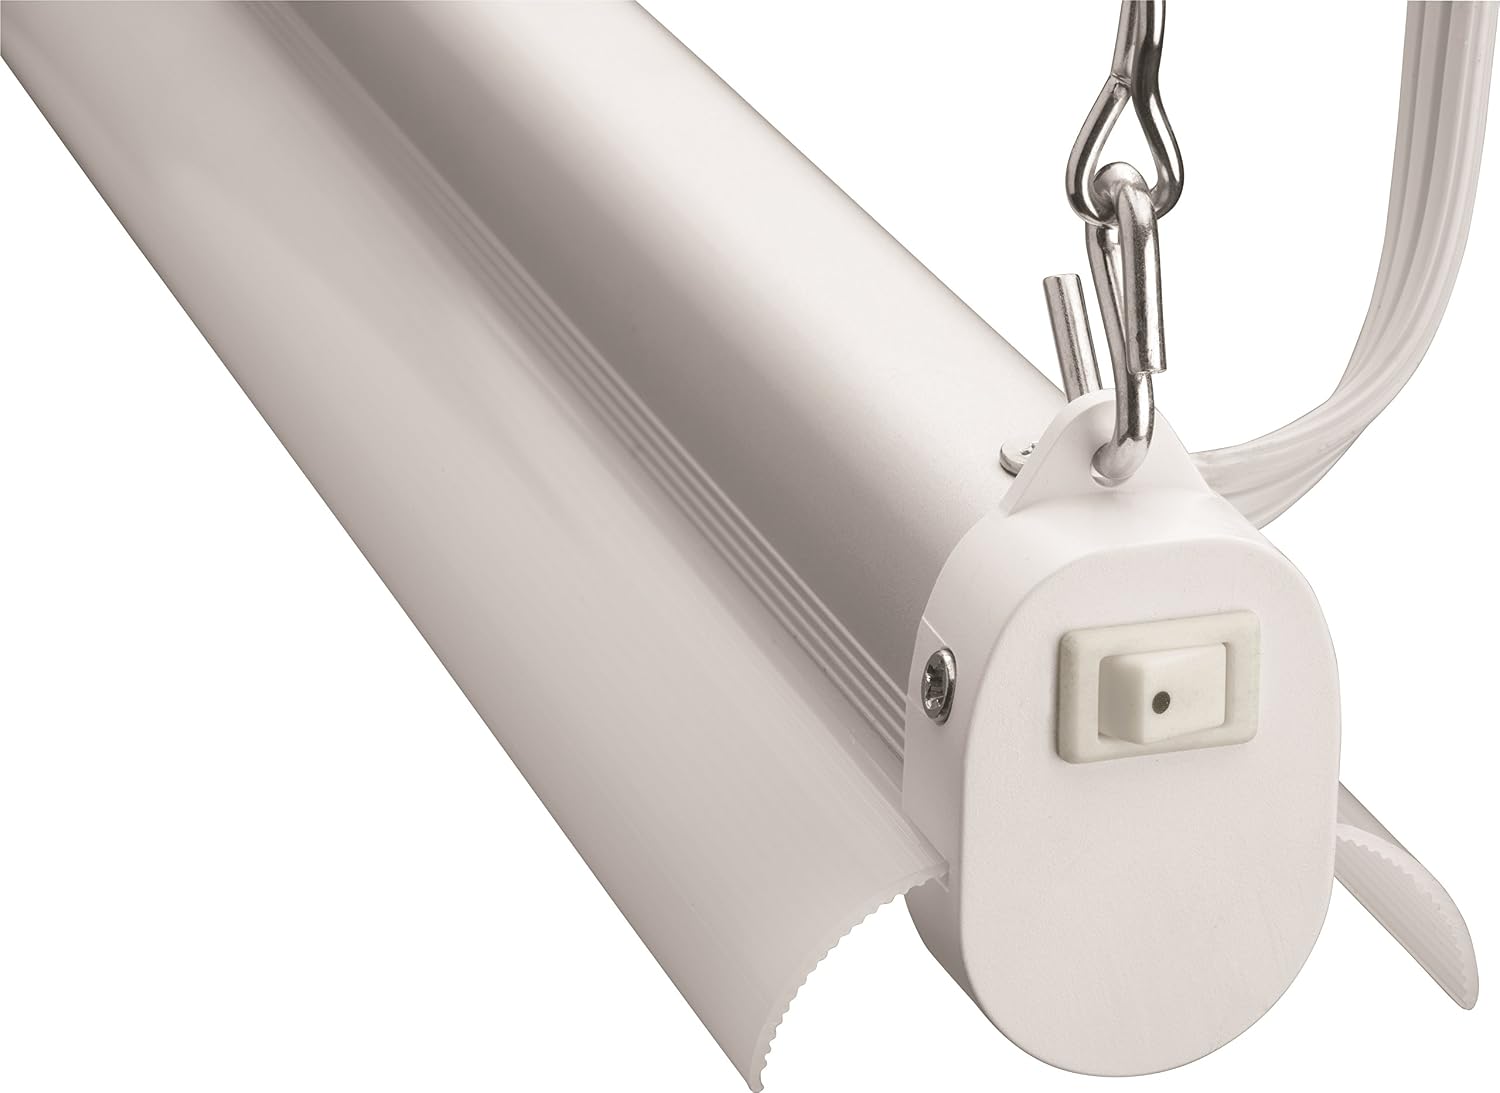
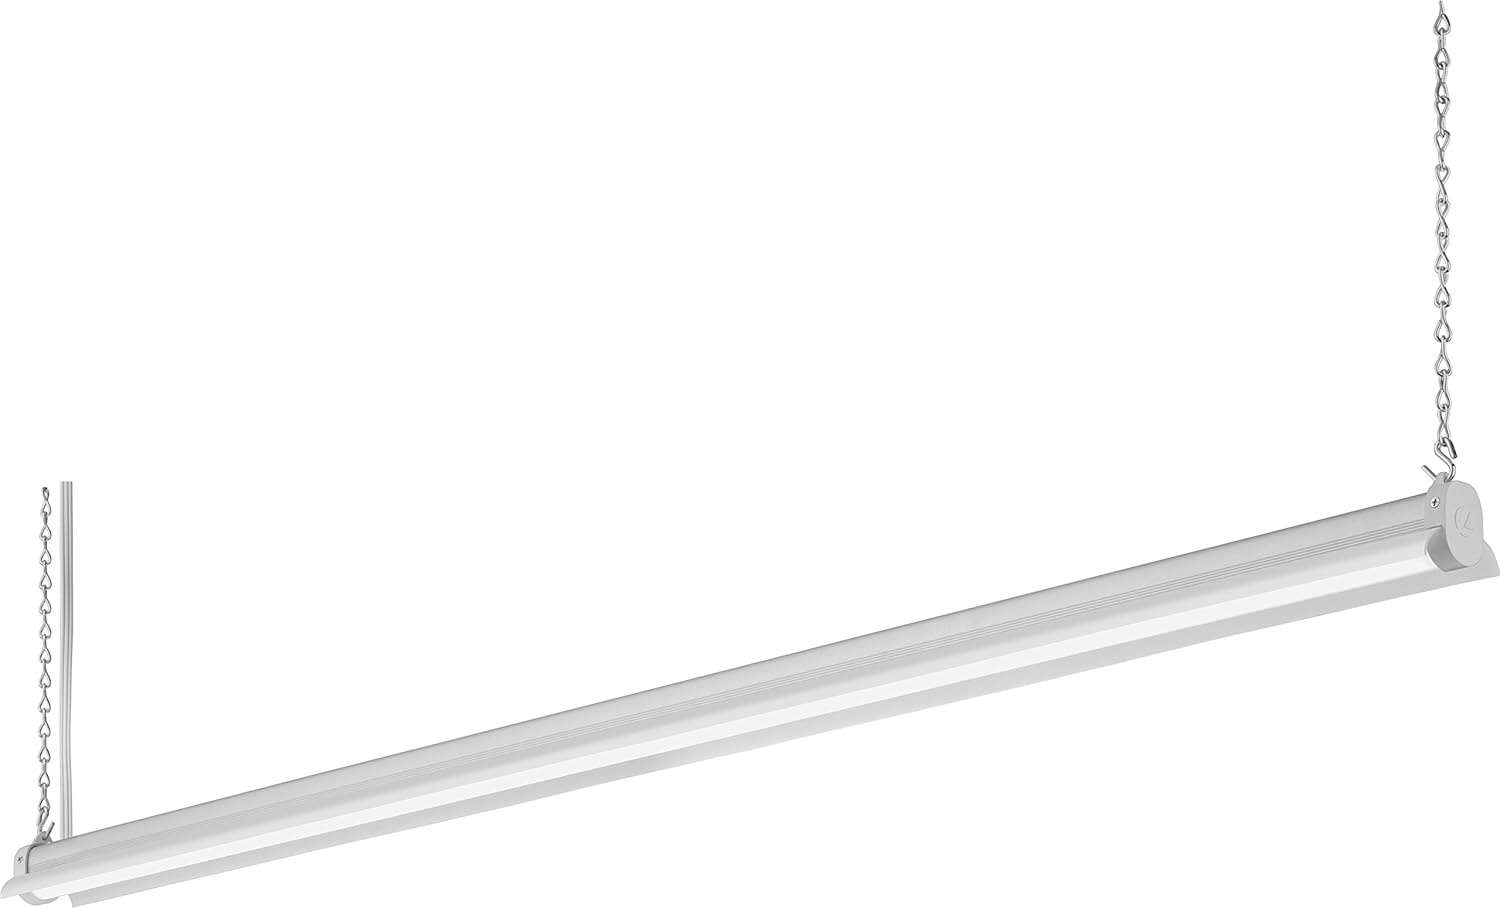
Update 4/27: Win-win. Lowe's had the Lithonia SHLPs in stock. The marked price was $2 higher than the online price--and they gave me the online price! They are small and light and have chain hooks at each end. In removing the old fluorescents, I think that the west unit was just barely holding on--the plastic end cap was cracked, so I glued it, but it was close to letting the tube crash to the ground. It made a sparking noise every time it turned on.
The old fluorescents flickered and sputtered as they turned on.
The new Lithonia lights are perfect. Much smaller, lighter weight, and brighter.
$66 well spent. (Unfortunately, I bought two T12 fluorescent bulbs for $10 and spent maybe an hour trying to refurbish the old fixtures.) To my eye, the new lights are considerably brighter than the old lights. They snap on instantly and silently. Ahhh....

See https://treeshousejournal.blogspot.com/2019/04/lighting-garage.html.

(2) 40W T12 4000k lights is 80W, about 5000 lumens. The problem is that one motion sensor switch is being asked to turn on three at once, or 240W. The label on the switch says it can handle 250W incandescent, or 150W compact fluorescent or LED, or ballasts totaling 2 amps. I don’t know what my ballasts are, but it seems to struggle a little.

So, back to consideration of options. Like 3 new chain-hung LED shoplights. They aren’t as bright, but I’ve never had more than 4 working T12s during this project, so I know 10,000 lumens is fine. More would be better. (Painting everything white helps the situation, too.)

48”, 4000K, white unless noted

Brand
Desc
Price
Store
Lumens
Watts
Watt Eq
Commercial
Linkable
37.47
HD


64
Commercial
Wraparound. High output
79.97
HD
5200
57

Metalux
42”
38.95
HD
4500
43

Euri

31.95
HD

70

Commercial
Black 3’
31.47
HD


Commercial
4-light
59.97
HD

80

EnviroLite
2-light LED T8 tube
44.96
HD
3600
28

Feit
4-light, no metal awning
99.99
HD
7100
76
136
Lithonia
1233 T12 fluorescent (NO BULBS)
16.48
Lowe
5000
80
80
Lithonia
1290L - clean bulb section
34.98
Lowe
3100
28

Lithonia
SHLP linear, alum-colored plastic
19.98
Lowe
3200
36

Sunco
LED Utility (3-pack) 5000K, pull chain
21.66
Amaz
4500
40
260
Sunco
LED Utility (2-pack)
29.99
Amaz
4100
40
260
FaithSail
Replacement. 5000K
29.99
Amaz
5600
52
140

Seems like I need three Lithonia SHLP’s. That will cost $66 including tax. 108W shouldn’t burden the switch, and it will produce 9600 lumens, which is about what the four working T12s put out. If it seems dim, I can buy a fourth--$88 with tax. 144W is still under the 150W limit. 12,800 lumens should be nice and bright.


Steps Project

I want to remodel the whole front yard. New hardscape, and so on. But at the moment, my path from the driveway to the house is only barely w...