Sunday, March 21, 2021

Car Canopy - As Built

 Kinda ruins the walk to the front door, but it doesn't intrude too much from the street.

As bad as it gets: there's a tarp on sticks right over there.
Doesn't look great as you turn onto 118th Street


But from straight on, not so terrible. It's not as if the garage doors (or the redneck pickup) were all that lovely.

Just about invisible from the street to the west. (Yay!)


It's about 12" too high to tuck under the eave. I knew that, but <sniff> I was hoping, you know, that the numbers lied.


Saturday, March 20, 2021

Car Canopy - This is not a drill

 I ordered a Peaktop car canopy on March 12; it was supposed to be delivered March 25-29. It arrived March 19 and things got real. Two boxes; the long one weighed 71 pounds.

All the poles were in the long skinny, incredibly heavy box

These parts were hiding under the PE cover

I know it looks pretty ramshackle, but every part in the parts list was included, and every metal piece, including the poles, had a sticker "1", "2", or "A", "B".
The pieces snap together with spring-loaded "button" fasteners. This is one half of the roof.


Roughly an hour to unpack, inventory, and assemble to this point.

I plan to put the PE (polyethylene tarp material) cover on as soon as it's not raining tomorrow. The instructions say put the tarp on , then tilt it up (resting on Casey's truck) to attach four legs on the green side. Then lift up the side next to the truck and attach the other four legs. Easy peasy.
According to the measurements, the ridge won't fit under the garage eave. We'll see.

This shows that a permanent carport this long would be closer to the street than my neighbors to the west. Also, note the posts leaning against the garage door.


Thursday, March 11, 2021

Car Canopy

 I've put the new car cover on three, maybe four, times and already it's gotten old. A canvas carport is seeming more and more like a better solution. It'll still be nice to have a car cover.


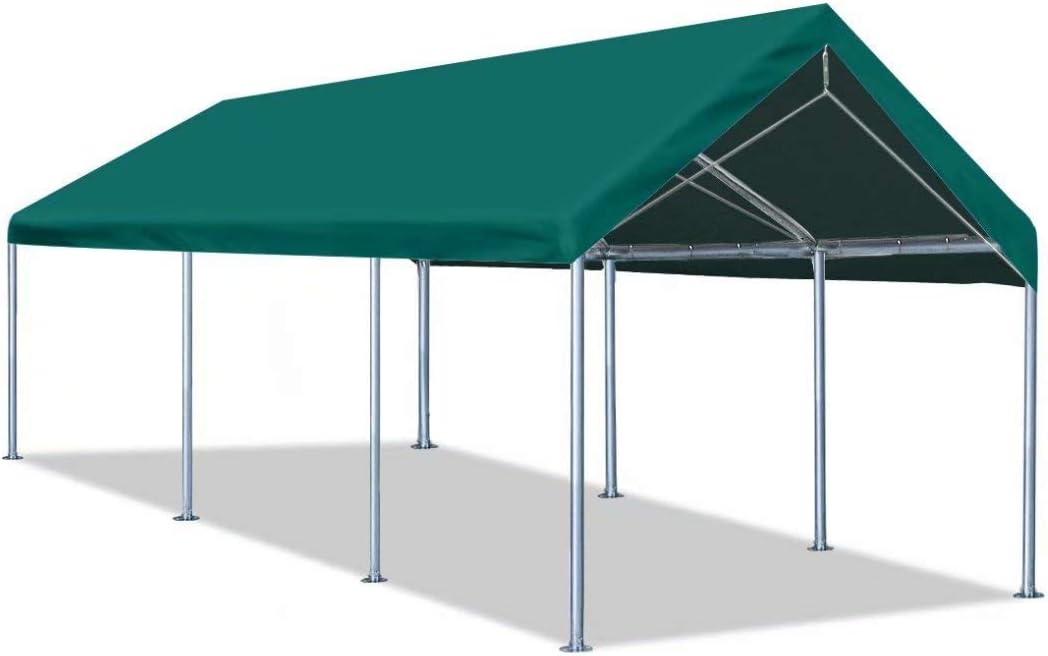
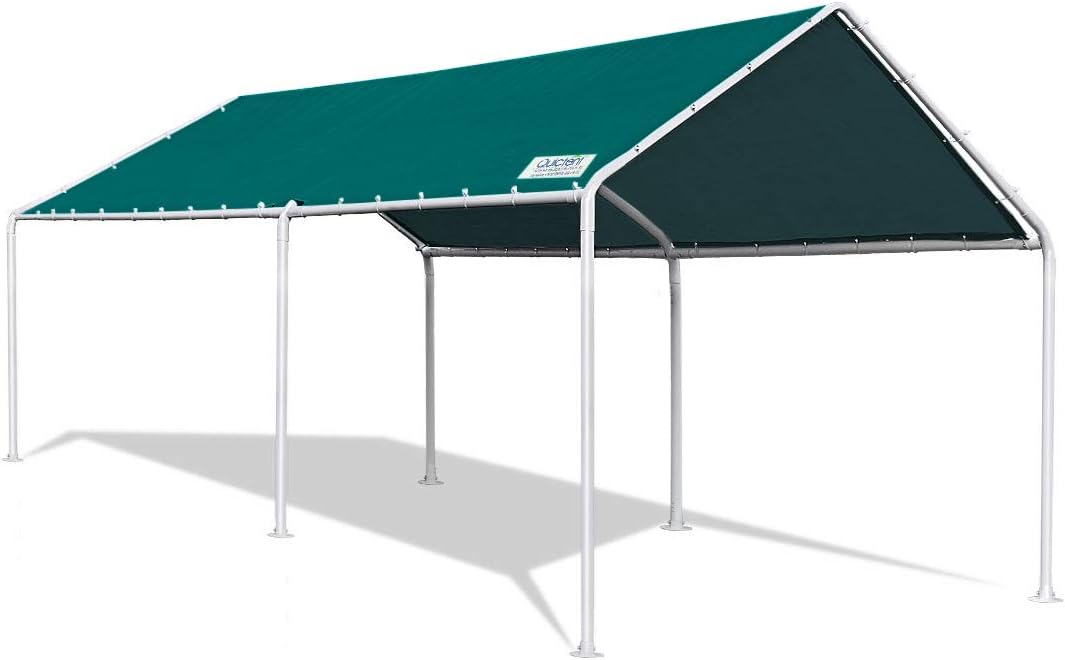
The dimensions are easy--there are a number of 10' x 20' canopies with six supports--that fits the RAV4. The ridge height of these, however, is 103" or so and the garage eave is 100.5". The fascia is 99". It would nice if it tucked under the eave and could be attached to the garage wall, but it's not a requirement.

They come in green, grey, white, camouflage. I like the blue, but it looks like a temporary tarp (which it is).

For wind holddowns, they sell things that velcro to four legs that you fill with water or sand (sand is heavier).

This is a heavy-duty model (8 legs) for $250


Lighter (6 legs), same company, for $175

Friday, March 5, 2021

Bathroom Update

 Back on January 24, this was the state of the bathroom:


I decided I needed a "public" medicine cabinet to keep people out of the real medicine cabinet. (I don't know if that was the motivation--I just thought the space above the toilet seemed lonely.)

So I made it look like this:


I painted the upper cabinet white at Peggy's suggestion, because the dark blue was looming. I really like the bright white, including the underside, which now provides more even lighting at the mirror for when I put on mascara.

But the more I enjoyed the new bathroom, I could visualize another improvement. All it takes is a few day's work, I thought. I was right, and I like it even better.


This is the color Peggy originally selected--Sherwin Williams' Billowy Breeze. Peggy wrote, on January 11, 2021:

try Billowy Breeze SW 9055 173-C2

the colors you chose are all too color intense and distract rather than playing nicely in harmony with your other colors.

you will still feel the blue color of the cabinets with Billowy Breeze

Now it's all good.

This was the starting point, just so we all remember:


Sunday, January 24, 2021

The Great Bathroom Makeover


For a few dollars worth of paint and a weekend's work, the bathroom looks great! (Okay, so it was two weeks and a few hundred dollars, but in 2022, I'm pretty sure I won't remember.)

The catalyst: No baseboard, the vent just flopping around.

"Shadow" of old cabinet above toilet; I didn't like the wood

This photo also shows the cheap plastic medicine cabinet.

Hard to organize storage under the sink. Need a shelf.
Fresh white semi-gloss and new shelves. The one under the sink has a backstop and is removable.


New LED downlights; new tp holder with phone shelf; new medicine cabinet

Gave walls a nice gray (Sherwin-Williams Silverpointe), added unobtrusive crown molding and baseboards in white, and converted wood grain cabinet to a "Pottery Barn" blue (Sherwin-Williams Distance). The ugly jacuzzi timer above the light switches is now a blank plate. The medicine cabinet swings the other way, so the mirror can be used for close-ups. Note new hinges on main entrance door.

Luxurious bath towels match the cabinet.

Satisfaction.

The ugly, temporary, skinny window looks a lot better in solid trim white (Sherwin-Williams Pure White). I thought about Silverpointe to "paint it out," and I thought about recalling the blue of the cabinets--if not the whole door, then the trim at the glass. Peggy was right--solid white.

Peggy also selected Silverpointe for the wall (shown here respecting the two-tone tiles) and Distance for the cabinet.

Note that the new window/door handle matches the cabinet and can break your fingers if you don't grab it from the left.

The flat "crown" molding works exactly as intended. 


The tile has fresh grout. The old tp and paper towel location have vanished.


Sunday, December 20, 2020

It's been two months!

How the heck did that happen? We voted in a consequential election, I became a Splunk employee on November 9, Casey tore up his bathroom and vanished. I decided to pay EnergyWorks to install a gas water heater for Casey, and then had to press them to actually do it. At the same time, I set up a music studio in the living room.

Casey decided to turn the vanity counter 45 degrees and built a live-edge counter for his black porcelain vessel sink

Creative destruction. Casey painted and prepared to install his new sink

Before EnergyWorks arrived, I removed the shelf and door to give them access to the old water heater. Some of Casey's fancy accessories had to come down as well.

Casey removed the toilet before he left, but he installed the sink (left).

Curt and his son, Ryan, showed up at 8am on December 8

Casey was supposed to dig this trench. Curt ended up making it deeper with the pick axe. The new gas line passed its pressure test and county inspection on Dec. 9.

Curt couldn't remove the old water heater, so I had to remove the door frame Tuesday night. The EnergyWorks electrician, Dylan Lamb, did a great job putting the old hot tub circuit in a metal box (center).

The new unit is just right. Water at the sink is hot in 10 seconds.

Lots of shut-offs and other valves. The white ball is the new kind of expansion tank.

The inspector made them add electric anti-freezing tape around the pipe. I can't fill in the trench since we don't have final approval yet, but when I do, they gave me bright foil indicator tape to warn someone digging in the garden that they're about to hit a gas line. I think I'll put boards down, as well.

Now we just need Casey to put his bathroom back together. His new black toilet is in a box in his room--it doesn't fit because the center of the drain in the floor is 10" from the wall, not 12" (if I understand correctly) and the adapter Casey bought doesn't work without breaking up the concrete.

Temperatures have dropped to the thirties this month and we've had a lot of rain, but the new deck shrugs it off (except for all the needles and stuff from the trees). Curt took the trouble to run the new gas line between the joists in the basement so that it doesn't reduce the head clearance. 
Bye, 2020. And to all a good night.


Wednesday, October 14, 2020

Hot Water is Easier Than It Sounds

 We've been talking/arguing with plumbers. Kevin Holloway sounds great on the phone, but he doesn't want to come all this way from Issaquah. We've been around and around.

He says, go electric.

I had decided to go gas. because electric needs more than 240V x 50-amp = 12kW. A lot more. We have a convenient 50-amp, 240V line right there, but 12kW's the limit.

This afternoon, Mr. Holloway suggests the Rheem RTEX-11 11kW 240V Electric Tankless Water Heater. Amazon sells it for $260. As Mr. Holloway says, "Buy a couple for spares." It serves up to 2.68 GPM, which should be enough for a shower. It's the size of a piece of paper and 3-5/8" thick (8.25" x 12.625").

Looking at the user manual, it must be mounted inside with 12" clear above and below, 6" to each side. That's 20.25" and I'm not sure we have that unless we mount it on the east wall of the closet. It requires no venting.

Greenwood is coming out tomorrow (10/15/20) at 11am, but they already said they want too much and won't consider a cheaper water heater than the upsell they put in their bid. But bid guy doesn't talk to field guy, apparently. I also talked to Fischer Plumbing--they don't bid, they do time and materials. So I could get the Rheem from Amazon and Fischer would put it in.

Trying to understand Rheem's data table. It seems to say that this model, at 2 GPM (a typical shower, I think) can raise the temperature 38 degrees. Is tap water 55 degrees? Then you get a 93-degree shower.

Do we install the tankless unit inline with the old tank? Do we remove the old tank and hope the Rheem keeps up? The User Manual says we might want a Flow Regulator to "prevent the exit temperature from becoming too cool." The manual says if the inlet water temperature is 60-degrees, we want a 1.5 GPM Flow Regulator. The water here is about 59-degrees, as measured by the kitchen thermometer.

I like it as a solution (it costs thousands less), but it's right on the line of working. I like Rheem (that's what I bought for the main tank), and they actually make a smaller one, just 8kW.

If we go this way, we just have to bring the 50-amp wires into the house. That means opening the wall, removing the closet shelf and figuring out what the conduit has to do.

Should be simple enough. If the wires don't reach, we'll need a j-box. Maybe we cover these wires with the j-box and run the new wires back in the house from there. They must be individual wires and in a metal conduit, I think, but that's doable.

Possible deal-breaker: the User Manual calls for 6-ga wire (I don't know what we have, maybe 8-ga) and a 60-amp breaker. That seems odd because the same table says the max amperage draw is 46 amps, so you would think a 50-amp breaker would suffice.


Steps Project

I want to remodel the whole front yard. New hardscape, and so on. But at the moment, my path from the driveway to the house is only barely w...