Sunday, April 28, 2019

Sorting out the tools

Here's a stake in the ground for how I'll store stuff in the existing cabinets.

Pliers includes the socket wrench set, vise grips, and other wrenches. Maybe clamps go in that drawer, too.

I have some canvas drop cloths--maybe they go in the cabinet with the 300' tape? The plastic tool caddy needs a place, too.

The Ryobi tools include:

  • Drill
  • Circular Saw
  • Reciprocating Saw
  • Grinder
  • Nail Driver

Levels, pry bars, hand saws will hang on the wall.

Meet the neighbors - 823 NW 118th Street

Me-HI-la (Mihaila?) and Mihai Jiplea. I just knocked on the door and met Mihaela.  They have four dogs.

She said Dave got sick suddenly and she hasn't heard how he is doing.

Told them I'm fine with dogs.

Mihaela sent an email:

Mihaela Constantinescu mihaelac.mihaelac@gmail.com

1:58 PM (4 minutes ago)
to meMihai
Hello! Thank you for coming to say "Hi!" to us! We are very pleased that you visited us, feel free to do it more often.

I also added my husband — Mihai — you're welcome to email or text us anytime!

Our phone numbers are: (206) 739-6656 Mihaela/Ella
(206) 739-6818 Mihai  [his email is mihai@jiplea.com]

Looking forward to seeing you soon! 
Thank you,
Ella


Friday, April 26, 2019

Lighting revisited


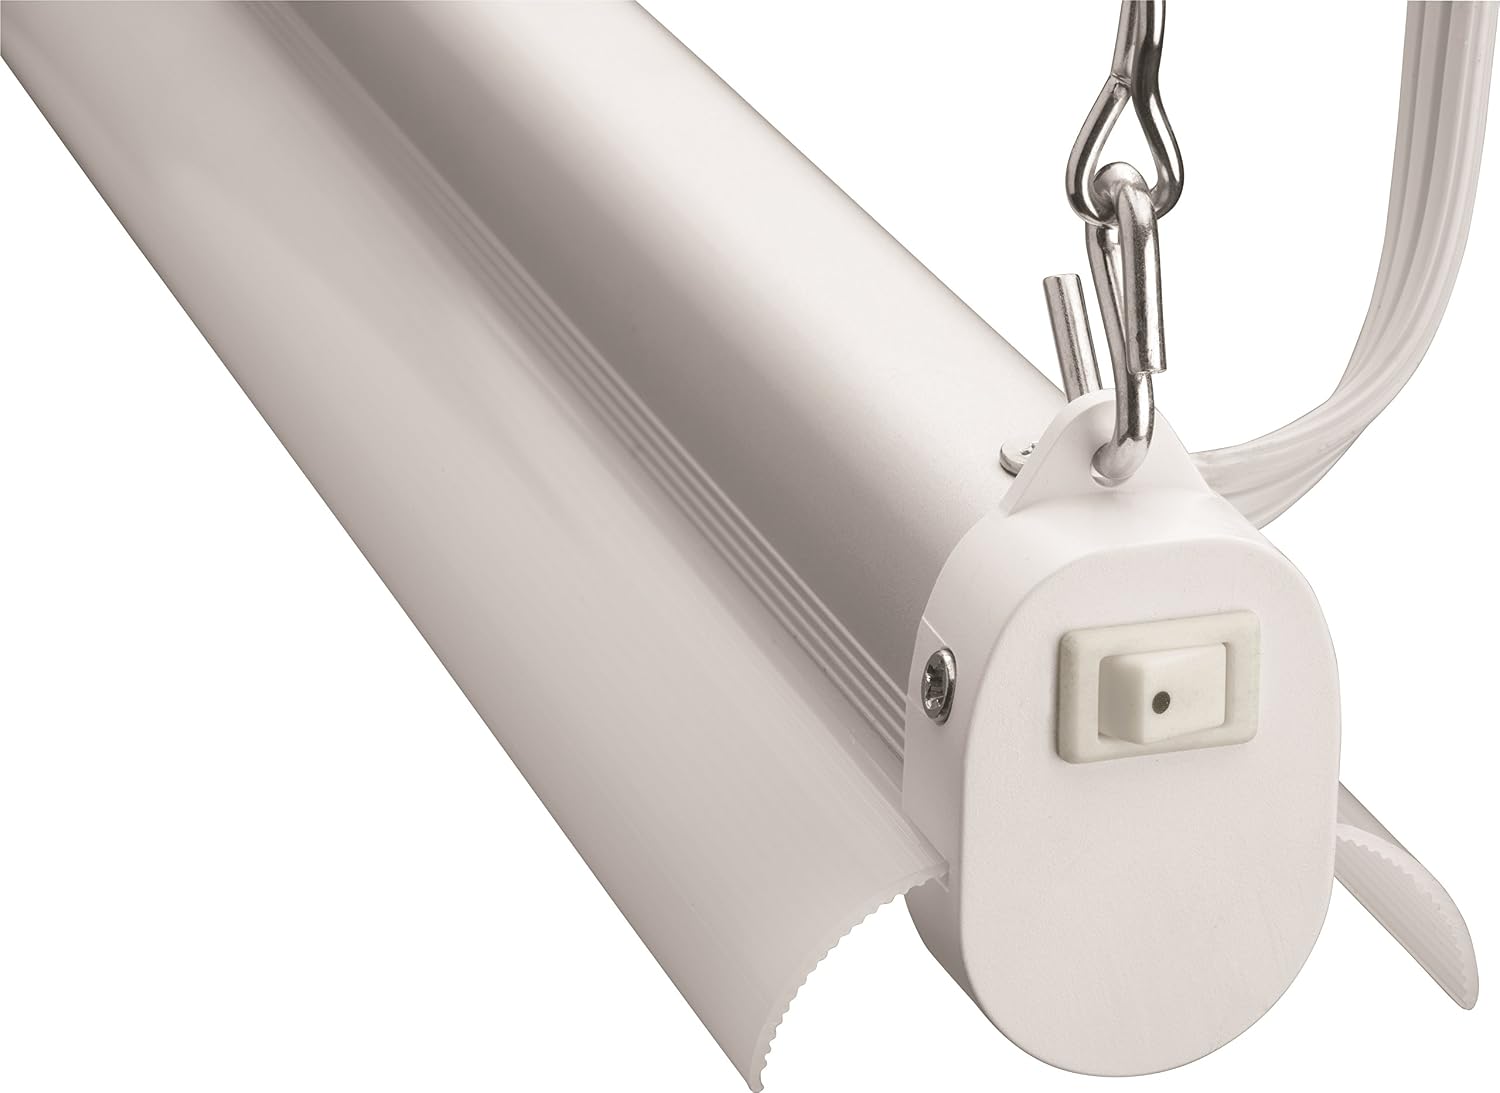
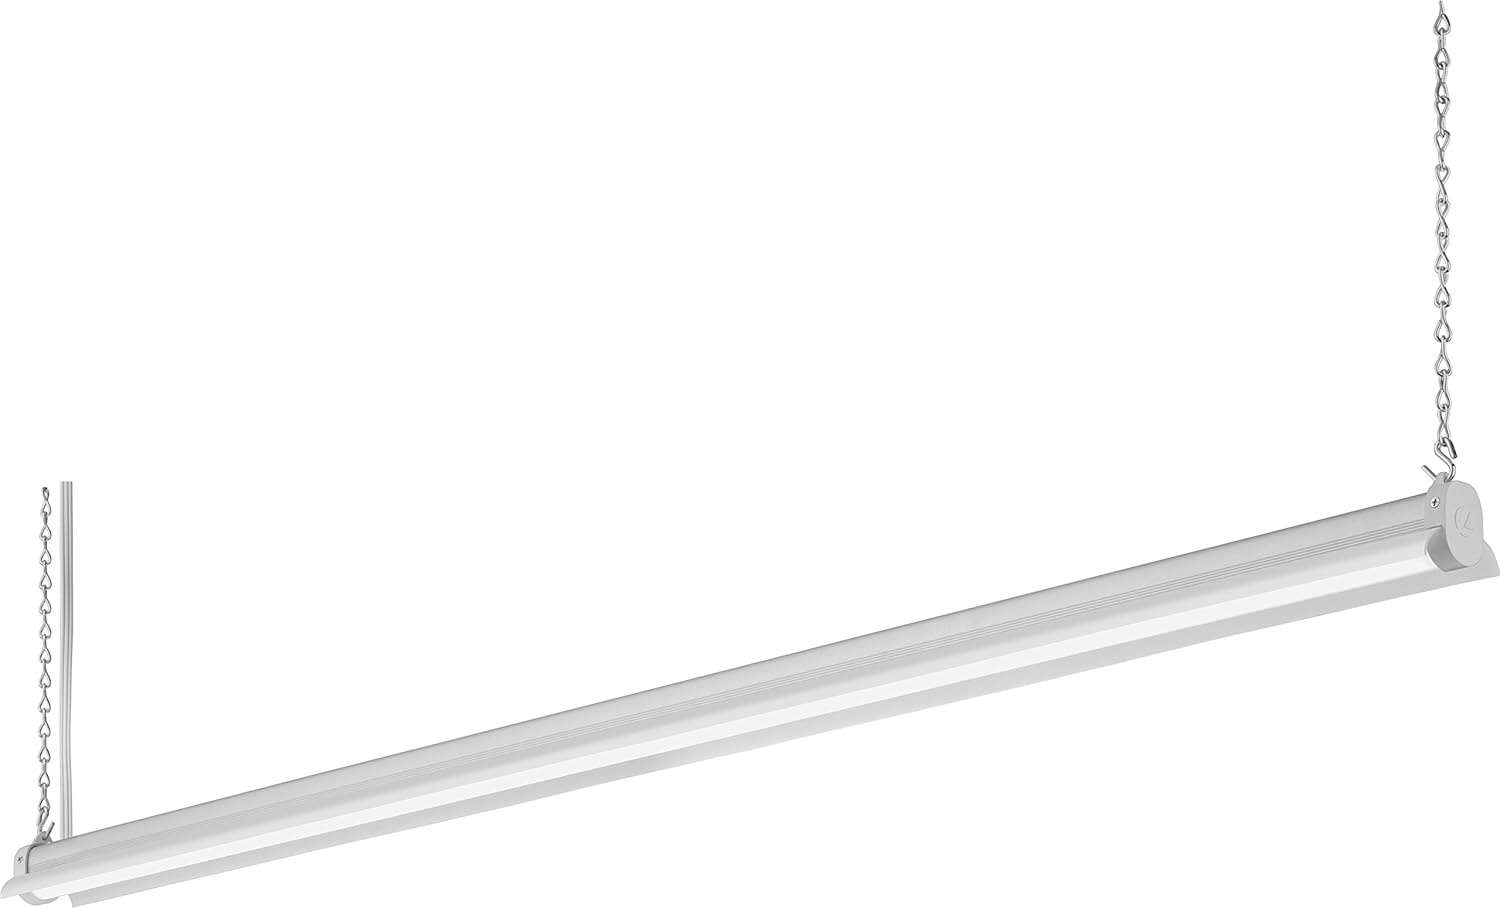
Update 4/27: Win-win. Lowe's had the Lithonia SHLPs in stock. The marked price was $2 higher than the online price--and they gave me the online price! They are small and light and have chain hooks at each end. In removing the old fluorescents, I think that the west unit was just barely holding on--the plastic end cap was cracked, so I glued it, but it was close to letting the tube crash to the ground. It made a sparking noise every time it turned on.
The old fluorescents flickered and sputtered as they turned on.
The new Lithonia lights are perfect. Much smaller, lighter weight, and brighter.
$66 well spent. (Unfortunately, I bought two T12 fluorescent bulbs for $10 and spent maybe an hour trying to refurbish the old fixtures.) To my eye, the new lights are considerably brighter than the old lights. They snap on instantly and silently. Ahhh....

See https://treeshousejournal.blogspot.com/2019/04/lighting-garage.html.

(2) 40W T12 4000k lights is 80W, about 5000 lumens. The problem is that one motion sensor switch is being asked to turn on three at once, or 240W. The label on the switch says it can handle 250W incandescent, or 150W compact fluorescent or LED, or ballasts totaling 2 amps. I don’t know what my ballasts are, but it seems to struggle a little.

So, back to consideration of options. Like 3 new chain-hung LED shoplights. They aren’t as bright, but I’ve never had more than 4 working T12s during this project, so I know 10,000 lumens is fine. More would be better. (Painting everything white helps the situation, too.)

48”, 4000K, white unless noted

Brand
Desc
Price
Store
Lumens
Watts
Watt Eq
Commercial
Linkable
37.47
HD


64
Commercial
Wraparound. High output
79.97
HD
5200
57

Metalux
42”
38.95
HD
4500
43

Euri

31.95
HD

70

Commercial
Black 3’
31.47
HD


Commercial
4-light
59.97
HD

80

EnviroLite
2-light LED T8 tube
44.96
HD
3600
28

Feit
4-light, no metal awning
99.99
HD
7100
76
136
Lithonia
1233 T12 fluorescent (NO BULBS)
16.48
Lowe
5000
80
80
Lithonia
1290L - clean bulb section
34.98
Lowe
3100
28

Lithonia
SHLP linear, alum-colored plastic
19.98
Lowe
3200
36

Sunco
LED Utility (3-pack) 5000K, pull chain
21.66
Amaz
4500
40
260
Sunco
LED Utility (2-pack)
29.99
Amaz
4100
40
260
FaithSail
Replacement. 5000K
29.99
Amaz
5600
52
140

Seems like I need three Lithonia SHLP’s. That will cost $66 including tax. 108W shouldn’t burden the switch, and it will produce 9600 lumens, which is about what the four working T12s put out. If it seems dim, I can buy a fourth--$88 with tax. 144W is still under the 150W limit. 12,800 lumens should be nice and bright.


It's Been a Week

Priming the cabinets and other things. New Nail Gun. Down lights arrived on time.
These are nice cabinets. Note the breadboard on the right.
I'm taking a break from priming the lower cabinet. It's a lot to do. I decided to prime the 14 metal handles, too. I want to tape them off and hit them with an accent color. Maybe a gray. (Some didn't want to come off, most have earlier paint on them, so I decided not to kill myself.)
I gave the 4x6 post a first coat of primer when I did the upper cabinets. Since the photo, the post has been given another coat.
As you can see in the second photo, the end of the lower cabinet is a dark brown, like the inside of the garage doors. I'm on a mission to wipe that out, but its a challenge for even the best primer. The idea is to get some sort of drywall to cover the insulation on the west wall (and to insulate and cover it with drywall at the east wall). That will all have to be primed, too.
Meanwhile, this is looking better. I bought a 12" blade and a mud trough so that I can do a proper finish coat.
The down lights arrived. They are exactly as they were described. All I have to do is run power to the first light, then a wire from the first to the second light, and so on. You install the drywall, covering up all the wires, then carefully cut out 12 4" holes (they have a paper template), reach into each hole and pull down the two wires (one wire on the 12th light), attach each wire to the connection inside each j-box, then place the j-box in the ceiling (pushing the wires and the j-box back up in the hole. Do this 12 times.

Then, we take each light--they look like a puck, 4" diameter and only about 1/2" thick--and connect it to the wire dangling from the j-box. Each puck has two spring-loaded ears. Fold them back, push the puck into place. C'est voila, the ears snap like a mousetrap and hold the puck tight on the ceiling. Do this 12 times, turn on the power and boom--6500 lumens for just 108W.
New toy: It's an 18-gauge brad nailer. It can shoot 5/8" to 2" nails into wood. (The diameter is 18-gauge, which is slimmer than a typical finishing nail. I tested it, though, and it holds.)
The Ryobi Nail Driver (in my next novel, my new character, Nail Driver, teams up with my long-time hero, Bolt Upright, to solve crimes) was on sale for $129 and it uses the same battery as the kit that Tanya and Kevin bought me for Christmas (18V Ryobi One).

Going forward, I need to cut five 4x8 sheets of drywall into 4x4'-9" sheets--that's the width of the loft. I need to drill for the wires for the downlights. I have 2x6s to close the ends of the loft so that the drywall has something to screw to. The east wall needs some 2x4 blocking and insulation. The left-over pieces of drywall go on the east and west walls. Hopefully, I won't need anymore drywall (Johnathan Jones' truck is my only way to get them home). Finish priming the lower cabinet, finish the drywall on the bedroom side. Maybe there's only one more week on this.

Tuesday, April 23, 2019

Well, That Wasn't So Hard, Was It?

Yes, it bloody well was that hard. Much harder than it ought to have been in a fair and just universe.

There was a 3' x 4' panel of drywall at the loft. I removed all but two or three of the screws, but it wouldn't budge. I have a 22 oz. framing hammer--that sent it crashing to the ground, but I had to be laying on my stomach across the loft to reach the far end. I was going to gently remove the panel so that I could reuse it, but my catching hands were busy with the bashing device. I can still reuse most of it, other than the corner it landed on.

The flimsy 2x2 that held up one end turned out to be anchored by (3!) 3" construction screws.
Where the drywall panel isn't anymore.
Then there was a built-in coffee maker. It looks like a fine product, and it's designed to be built in. It has a "rough-in box" with sheet metal attachment ears and a built-in j-box for the electrical. You run 1/4" (icemaker) line of cold water to it, and they have a nice quick-release for that and an outlet for the device. Once the rough-in is roughed in, you connect the water line and push the coffee maker into the box, which automatically engages the electrical outlet. This looked in good condition, but I wanted it gone. (I have another in the kitchen, a project for another day.)

Except the coffee maker rough-in box didn't want to leave. I didn't want to damage the drywall on the bedroom side, so I ended up opening the wall from the workshop side to see what was holding it. Nothing. They had forced it in against the drywall and I had to force it out again with my bashing device.
Here's where the coffee maker and the refrigerator aren't any longer. I was trying to keep this side fairly nice.
The refrigerator didn't want to leave, either. Whoever put it in loved Liquid Nails and couldn't read, apparently, because the refrigerator is labeled "Free-Standing Installation Only." The door hinge kept me from pulling it back into the workshop, and everything, including the carpet, kept me from pushing it into the bedroom. So, I took off the door hinge (working with screws that I couldn't see, down in the carpet) and pulled it back.
Liquid Nails--even better than duct tape for whoever installed this thing. We all know that refrigerators last as long as houses, right?
So, in the process of removing these things, I created more work for myself buttoning up the bedroom against the cold workshop air. Even disconnecting the 1/4" water line under the BA3 sink was problematic--I can't get the faucet cold water back on the supply. I'm seriously thinking about just replacing the faucet. The problem is that the nut on the faucet line only turns with a tool. Everywhere but in bizarro world, you start a nut like this with your fingers and then tighten it with a tool. Starting a nut with a tool, inside a tiny lav sink--not so easy.

Update: Instead of a new faucet, I bought a new faucet supply hose instead, and the second one of those actually fit and doesn't even seem to be dripping.
I was pretty determined to figure out why these two things wouldn't come out. When I got the refrigerator loose, the Liquid Nails held so well, it pulled the drywall (on the left, by the outlet) with it.
Isn't the wall of 12" drywall panels cute? And check the closet corner where the drywall and the plywood don't meet because there is no stud. Oh, and the refrigerator genius cut the 2x4 and just let it dangle over the refrigerator. Studs are just for screwing drywall, right?

Update: Check out the outlet--the refrigerator genius ran the wall into it. I ripped it out and put a 2x4 block against the stud it was attached to, then re-installed the outlet 1-1/2" to the right, where it will clear the wall. I'm going to label it carefully: "Circuit #8 - No GFCI." The rest of the workshop is on circuit #21. Also, the blue box above it (the outlet seen in the bedroom side photo) is wired with 14 ga wire, but it goes to a 20-amp breaker, so it should be 12 ga. The geniuses wired the workshop-facing outlet with 6" of 12 ga wire as if that would fix it.

Monday, April 22, 2019

Status report

It doesn't look like much, but the three fluorescent lights are hanging from the rafters (one had been leaning against the wall, while another was hung under the loft) and they are powered from new outlets installed in the rafters. These outlets are GFCI protected and controlled by a motion/occupancy sensor switch at the door (on the strike side, not the hinge side as before). No spliced extension cords in the wall, no switched to BR3 Hall lights.
Note the two outlets in the rafters. I'll tuck the dangling wire against the fixture chain. Note the power outlets in the lower right.
There is remaining electrical to do, but this was a big phase 1. It's not quite done: The power outlets on the west wall in the photo above show an open ground on the tester. I repurposed some Romex that I found here and apparently there's a problem with the ground. Worst case, I'll have to run a new wire from the last rafter outlet and reconnect the double outlet.

Looking east toward the door. On the left, the GFCI entry point, by the door, the motion-sensor switch, and hidden behind the ladder, a utility outlet.
Phase Two electrical runs a switched line from the door switch box to (10) down lights underneath the loft. I considered many products and went with Parmida can-less down lights. They're like hockey pucks, not much deeper than the drywall. You run power to about where they'll be, install the drywall ceiling, then cut a 4" hole just where you want the light. Pull the power line through the hole and wire it to the j-box that comes with the downlight, rest the j-box inside the airspace and push the down light and its spring-loaded "ears" into place. They are LED and run cool. Ten of them will generate about 6,000 lumens with 90W.

If Lowe's or Home Depot know about "can-less" solutions, they are staying deliberately quiet. You want cans? They got em. You'll need a down light to go in your can, and of course the bulb is not included. It gets to $30/can pretty fast. The Parmida set is $7.66/light (it's a set of 12).
The switch by the door and the diagram for how it's wired.
This is my remaining electrical concern (once I fix the open ground): There are a lot of connections to fit in that switch box--it fits for now, because the switch (and the wires) to the down lights isn't there yet.

Work work work. Need to disconnect the water line for the coffee maker. Take the coffee maker out and the refrigerator, too. I still think I need to haul the Shop Vac up to the attic (and the loft) to make it cleaner. Then run the Shop Vac around at ground level. I have some 2x lumber to install at drywall joints and drilling for Phase Two electrical.

Drywalling the ceiling under the loft will be a challenge, but not as bad as could be because the loft is 5' x 20'. That means lifting 5' x 4' pieces over my head, not 8' x 4', a 37.5% weight reduction. John Jones suggested a job-made T-brace that will hold one end. I also benefit from the garage door tracks.

Friday, April 19, 2019

Power to the Workshop!

Success, until proven otherwise.


This GFCI outlet is the first stop for electricity coming into the workshop. Two yellow lights means the circuit is wired correctly. Pressing the black 'Test' button kills the juice; pressing the red 'Reset' button restores it.

Getting the wire from the Old Panel to the GFCI was problematic. I thought Wiremold was the answer, but I was thinking in terms of a raceway that you mount, fill with wires, and then cover. Instead, the Legrand product I got at Home Depot had to be slipped onto the wire like a string of pearls. Then the whole l-shaped piece needed to be installed by the ceiling more or less at once.
Not great looking, partly because the construction quality of these walls is sad, but I think it's unobtrusive enough.
Working with the Old Panel required killing all power to the house several times. Now I have to reset the clock on the stove. A Romex line runs into the Old Panel from the side, and they just clamped the front panel on it--like slamming a door on an extension cord. It's beyond my scope to fix that, but my wire enters the box via a non-metallic strain relief.
Two clear/orange thingees are my handiwork. Mine is the bright white just right of center. The ground is properly bonded to the ground bus and I even labeled the wire.
I'm proud of my work. Tough problem solved the right way. House might burn down because I disturbed some ancient crap work, but it won't burn down because of my work.

Next step is roping (as we wanna-be electricians call wiring) from the GFCI to the light switches, then to the outlets. Now I have only to kill (21) when I'm working, not the whole house.

Steps Project

I want to remodel the whole front yard. New hardscape, and so on. But at the moment, my path from the driveway to the house is only barely w...