Friday, March 27, 2020

Removing the window box

Taking a break from the deck design, I went ahead and removed the window box at Bedroom #2. I'll bet it looked great overflowing with flowers (there were all kinds of nursery signs in the soil), but they never finished the wood, the plants were long dead, and one of the wires encircling the house was trapped behind the window box.
There's the bracket Peggy remembered on the left.

Tricky managing not to dump the dirt into the basement well.
Oh, and did I mention the ivy problem?
Took less than an hour, all told. There were six wood screws at the top of the planter, long enough to puncture the moisture barrier, but unlikely to grip any studs. Then there were two screws at the bottom that could only be reached when the dirt was out.

I used the narrow shovel to patiently scoop out the dirt--there was volcanic rock and perlite mixed in--the soil was remarkably light. But there was still a lot of dirt remaining when I broke the thing loose with the crow bar.
First the greenhouse, now the window box and all the wires that had been tacked to the soffits.
Sad to learn that they hacked off the chair rail molding under the window, but the "window" at the MBa is just sad. (What a hack job that was.)

Anyway, the remove stuff - scrape - fill - sand - prime - sand project continues. Mostly only Casey's room remaining (for the remove stuff phase).
More ivy to remove, but I got three rows of it.
I wonder if this thing was bought or custom built?
(In the last photo, just to be clear, I removed the front boards Don't think they had the dirt literally against the siding. They were bad hacks, but they weren't insane.)

Wednesday, March 25, 2020

Deck Details

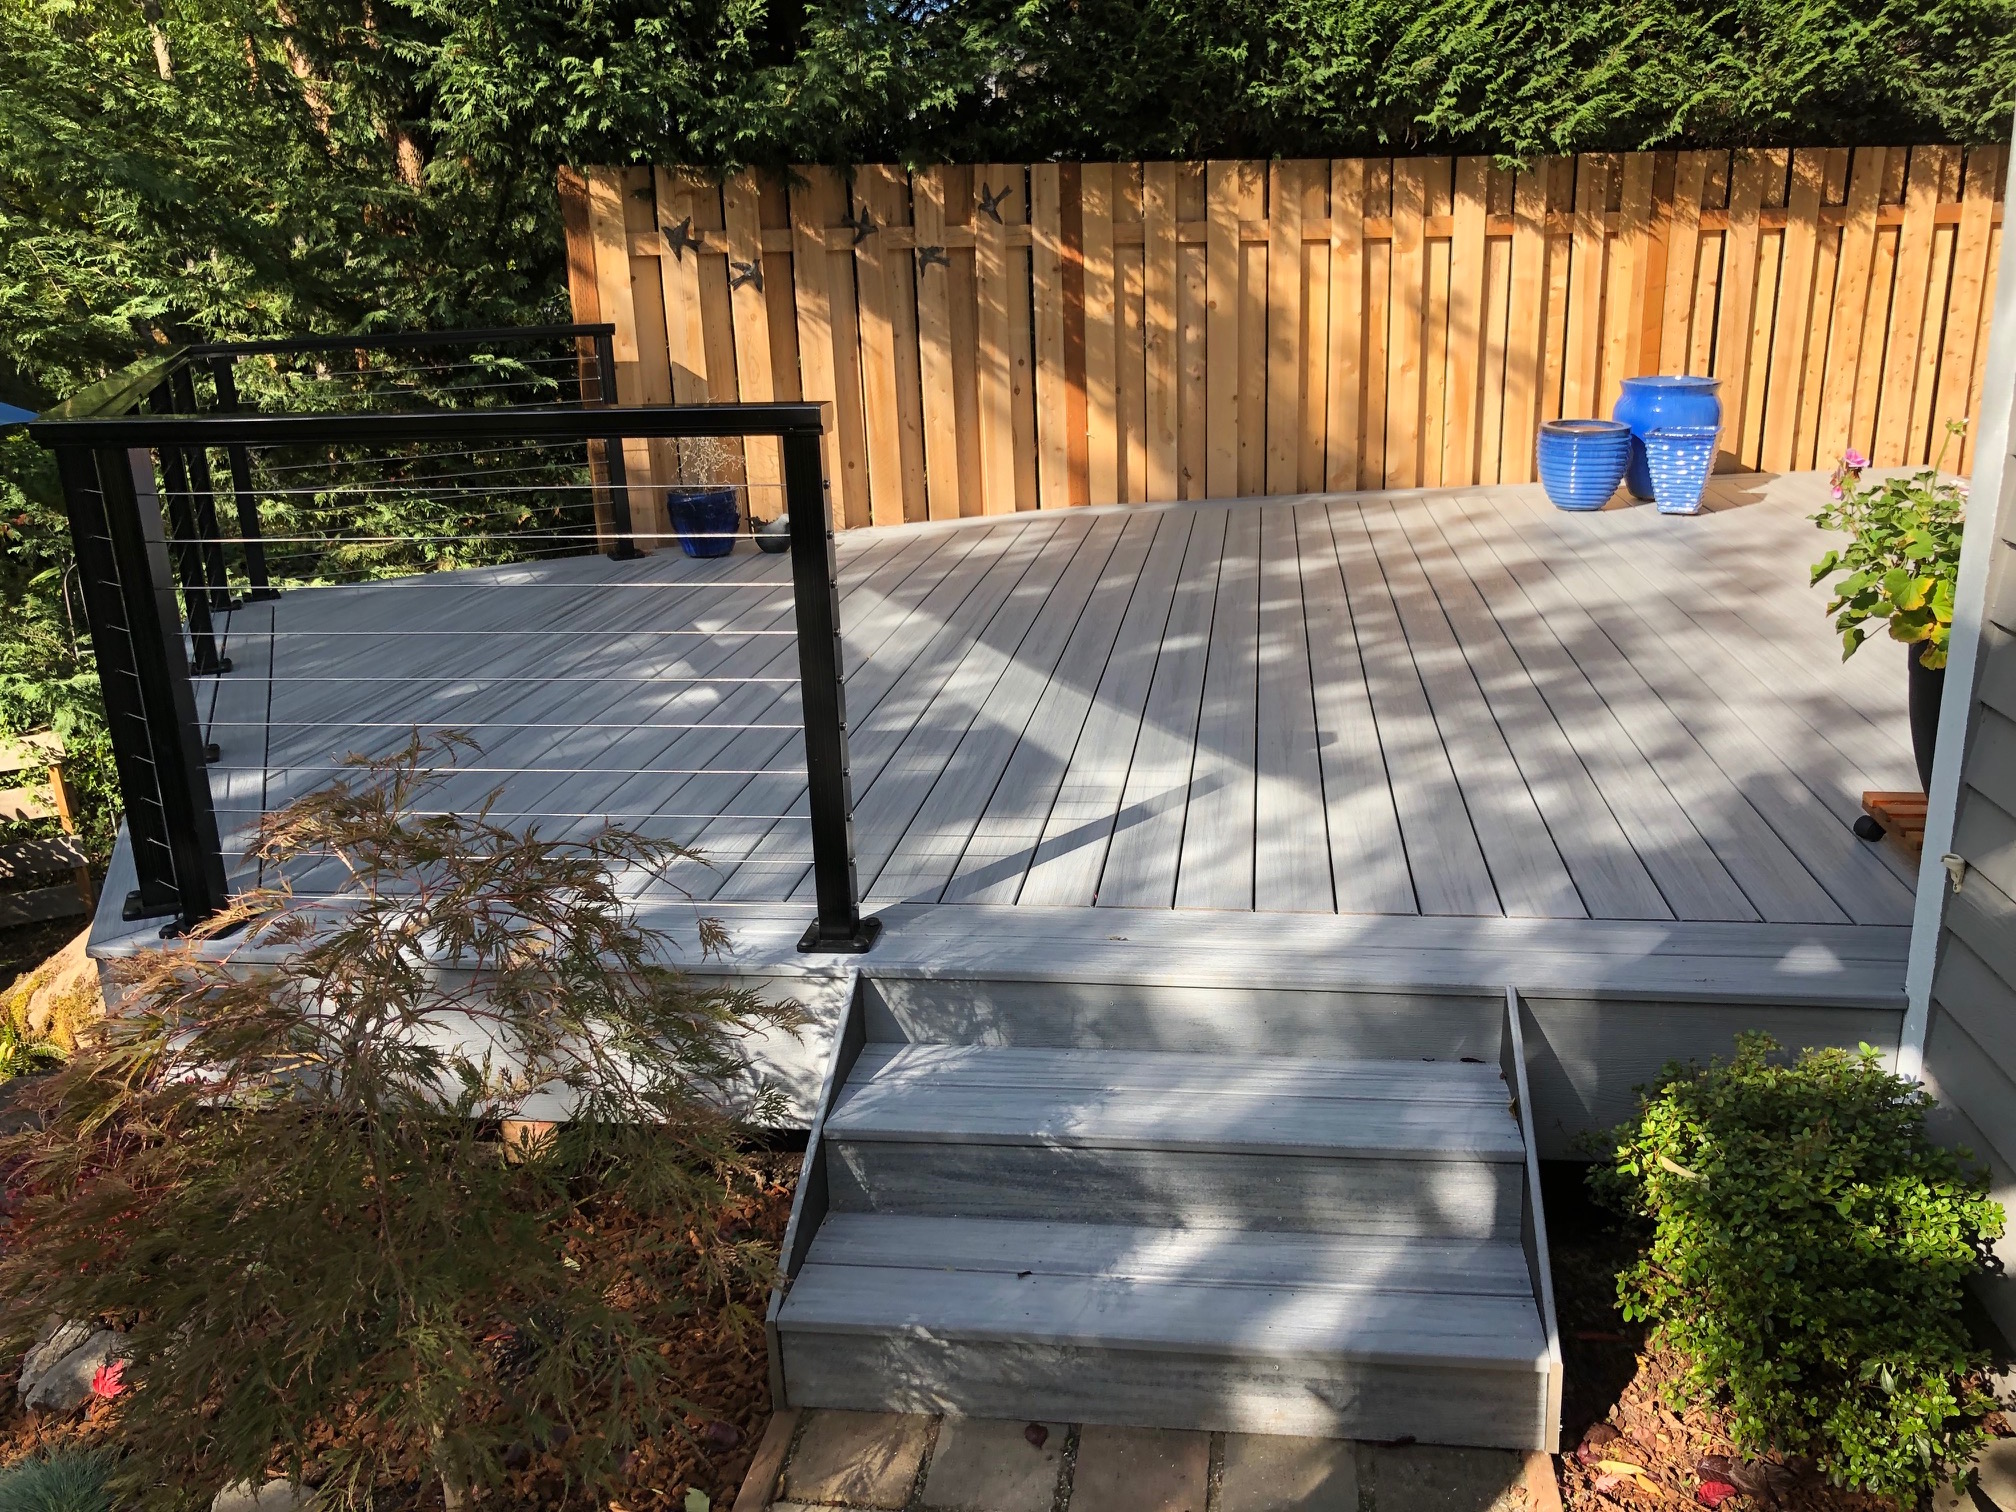
Deck layout is getting squared away, but there are decisions to make regarding railings, benches, and skirts.

Railings

A 36" railing is required where the drop off is 30" or more. Where it is 15" or less, I'm inclined to eliminate the railing. Railings are visually busy.

I'm thinking a simple 4x4 bolted to the 2x8 structure, spaced no more than 48" apart, with a 2x6 cap and (7) cable railings. Cable doesn't look like fun to deploy (such as drilling 1/4" diameter holes through 3.5" posts accurately), but other options (glass, metal, wood) are too expensive or block the view. Maybe tempered glass should be considered.

Benches

Peggy's idea of installing benches at the far end of the deck, where visibility is particularly important, is a good one. That's also where the maximum drop off is, but it's soft dirt. Someone would have to sit on the bench and roll off it backward. Or...we could add a back rail to the bench.

One issue with the design is we don't want to run $6/SF Trex and then cover 18" of it with a bench. Somehow, we want to stop the decking before the bench.

We need to consider the view from the yard, as well. The first sketch would be a lot cleaner looking from the deck side than from down below. Another thing: Trex decking needs support every 16"--4x4s at 16" o.c.? Maybe we need flat 2x8s as a sub-bench for the Trex.

Every solution has its problems: The flat 2x8s would not allow the Trex to drain. We could drill drainage holes in the Trex gaps, or we could take a different approach.

Another question is how high the bench should be. 18" is the knee-jerk response. If we make it higher, it's more of a railing, but it makes the fall off the back higher, too. Also, these design sketches show zero protection for dogs and little babies--under 12" high, and it's like the deck has no railing at all.

There's a solution here, but it will have to balance all kinds of requirements.

Peggy's design, as usual, is better. 4x4 T's, strengthened by Simpson T angles, bolt to the 2x8 deck every 4' or so. 2x6s span from T to T, and 2x4 ribs go from 2x6 to 2x6 to support the Trex.

A simple 1x6 toe kick attached to the 4x4s would make it hard for balls, babies, or little dogs to fall off the deck.

We could use lightweight Simpson Ts--they make 14ga ones for $11.78 (or 128T 12" x 8" for $9.22, or $6.38 at Lowe's). They could go on both sides, as Peggy suggests. Or, we could go with the 7ga heavy duty Ts, the HT 12" x 12" T-strap. Home Depot sells them for $26.85 each. (They make a 16" x 16" version, for $55.64.)

As for bench height, 16" would work, but I prefer 20" or more (based on measurements of chairs and things around the house).

Skirts

I'm just beginning to think about this one. The basic criss-cross lattice is not the right look. I can rig a lightweight frame to staple 1/4" hardware cloth, a foot or two in from the edge all around. Then some sort of a screen, maybe 50% open or more, at the fascia. Vertical 1x4 self-spaced?

Monday, March 23, 2020

Deck Shopping

Deciphering Trex: It was confusing at first, but now it's not so.
Foggy Wharf (Trex Enhance Naturals) $2.88/ft for 6" boards = $5.76/SF
Trex Select is the cheapest. The boards are only .82" thick. It comes in Pebble Gray.

Trex Enhance is in the middle. It has a ribbed profile, so it's lighter, while still being .94" thick. Enhance Basics are sold-color cheapest. Enhance Naturals are multi-tone. The gray colors are Clam Shell (fairly dark) for Basics and Foggy Wharf for Naturals.

Trex Transcend is the high-end. It's .94" thick and solid, so it's heavy (like 2.5 pounds per LF). It comes in Earth Tones (cheaper)--Gravel Path--and Tropicals (premium) Island Mist.

So, there are 5 grays in order of cost:

  • Pebble Gray (thin material) PG
  • Clam Shell (too dark) CS
  • Foggy Wharf FW (fascia not available in this color)
  • Gravel Path GP (also available in Porch, 4.5" width)
  • Island Mist IM
I guess they do it like that because they can't get a Transcend color to exactly match an Enhance color, and they don't want you mixing and matching anyway.

You can get them with straight sides or grooved. You need grooved for hidden fasteners. The fascia boards are 8" or 12" nominal, .56" x 7.25" or 11.375", 12' long.
Island Mist (Trex Transcend Tropicals) $4.77/ft, or $9.54/SF
Product No.: XX0106##@@G01 - ## is length (12', 16', 20') and @ is E1 for Enhance Basics, E2 for Enhance Naturals, S for Select, T1 for Transcend Tropicals, and T2 for Transcend Earth Tones. 

Lowes.com sells Trex. An 8' Clam Shell is $14 ($1.75/ft). A 16' Island Mist is $65.07 ($4.07/ft). A 12' Foggy Wharf is $34.55 ($2.88/ft). 16' Foggy Wharf is $46.07 ($2.88/ft)

48 pieces at a time 16' Gravel Path is $73.52 (square edge or grooved). That's $4.60/ft, but it should be a savings. Lowes sells Island Mist for less than Gravel Path. Or $76.37 for 16' Island Mist ($4.77/ft).

Dunn Lumber sells Foggy Wharf for $2.97/ft. Schillings.com has it for $2.65/ft.

So, assuming I can frame a 240 SF deck with 2x8s I have lying around, I can buy the decking for:

Foggy Wharf - $5.94/SF = $1425.60 = $1,582.42 (with tax)
Island Mist - $9.54/SF = $2289.60 = $2,541.46 (with tax)

That's the price range. add $1,000 for Island Freaking Mist.

Furniture

Here's a basic outdoor "sectional" by Tuoze: https://smile.amazon.com/Tuoze-Furniture-Sectional-All-Weather-Conversation/dp/B07PQ32ZL6. It's a 7' 1" x 2' 2" couch with a 2'4" square ottoman and a 2'1" square glass-top coffee table. The back is 2'1" high. This should face the trees. We need either storage for the 4 seat + 5 back cushions (they sell resin deck boxes) or a cover for the whole thing, which they also sell. The problem is we have rain all through the summer here.

This set is $350. Maybe we buy a new one every three or four years. Not sure if the rug works.


Friday, March 20, 2020

Deck Design

Let's consider the deck from scratch. We have two doors to the outside, one at 263' (MAIN) and another at 260' (with a 2" threshold)--APT. We want to get from MAIN to the basement stairs at 259.9' and from APT to the ground at 257'.


We could think of it as bridging from APT to the basement stairs, then just stepping down from MAIN to the bridge, but that exposes an issue. In general, MAIN wants access to the basement stairs and the 260' lawn on the east, while APT wants to access the west half of the yard. The two halves can be generally separate, with a single connection where we could, perhaps, install a gate.

We want to minimize the linear feet of railing and the number and complexity of stair runs. Secondary to that, we would hold the deck area down as well.

To reduce railings, use the house as one side. The main house soffit @269.75 is just 6' 10" above the MAIN door threshold, which is kind of claustrophobic. (The lower door soffit @ 268.16 is 8' 0" which feels much better.) The only real problem is the west side of the alcove at the house: Here the lower soffit is 5' 3" above the MAIN door threshold--oops.

For minimum area, consider a two chairs and a table (a "bistro set")--about 30 SF. Or a 42" round table and four chairs--roughly 64 SF. One of those wicker corner units might be 9' x 9' or about 81 SF. A barbecue needs about 20 SF. Avoid pretty geometries that result in a large areas of useless space.

If it is not too awkward, perhaps we want one deck for MAIN and another for APT. Not that there would be separate but equal parties going on, but just to avoid sharing furniture and amenities.

Making the Grade

We have two options for the deck height: MAIN and APT. (The current scheme has decks at three levels: MAIN, APT, and 262'.)

A high deck at MAIN level offers a step-less experience coming out of the main house, and a better view into the canyon. It's more of a treehouse feeling. However, it puts the deck in the way of seeing the canyon from the house, and it makes the APT door feel like it's in a pit. The problem with 5' 3" soffit is unavoidable. Stairs to the ground are 3' 9" to the basement stairs and almost 6' on the west. The APT would need a 3' stair up to the deck and a 3' stair down. Staying high means a big drop to the basement.

A low deck at APT level might require some excavation of the little hillock for the structure (one step above APT might work better for the sump outflow). This is our "bridge" from APT to basement, requiring a platform at the MAIN door and 3' steps to the deck. At APT, we're just 2 steps to the basement stairs and 3' down to the west backyard. It seems more natural that there would be only 1 set of stairs from APT to the west backyard.

If we create a 100 SF deck at (260' 7"), we would need a platform at both the MAIN and the APT doors, steps from MAIN to deck (28"), a step from APT to deck (7"), a step from deck to basement stairs area, and steps from the deck to the west backyard (43").

Rough Proposal

Here's the result of the thinking above:

The Trex calculator at Home Depot.com says I should expect $8/SF. A metal railing at HD said it was $35/LF. This minimalist sketch is 275 SF, with 67 LF of railing (not including stair rails).

Trex (not including supporting structure): $2,200
Railing: $2,345

Two stair runs + two minor steps is simple enough. The sketch shows the west stairs too long--37" is only 6 low risers, 5 treads = 4' 7" run. The steps from the main house are 28" (4 risers, 3 treads as drawn).

Just staring at this sketch a bit, it seems worthwhile to lower the main deck to 260.08 to avoid the trip step. This might require moving some dirt out of the way on the east side, but its not like we have to off-haul the dirt.

If we extend the Apt deck out under the window--make it 7 x 16 instead of 6 x 10--we're adding 52 SF of Trex and 7 more LF of railing--$661 more. Now the Apt has a mini-deck of its own.

I'd like to extend the Main door platform far enough south so that the stairs fit neatly between the platform and the deck itself. That makes it 9 x 8, adding about 24 SF of Trex, 3 LF of railing--$297 more.

It all adds up. Tweaking the platforms at both doors adds about $1,000 to a $5,000 project.
Deck Plan #1
For furniture, I can imagine one of those L-shaped plastic/wicker sectionals, maybe a table and loose chairs outside the Apt window, and a propane barbecue. Up on the high deck, under the eaves, we could have a weatherproof storage cabinet.

Railing

I'd like to think I could do a railing for less than $35/LF. I would eventually like to use the same railing design all along the top of slope at the south end of the property.

Code (IRC) requires a 36" railing anywhere the drop is 30" or more. 4" sphere can't pass through, even at the bottom. 200# force along railing means posts at least every 6'. Stairs (> 30" rise) must have handrails 34"-38" above the nosing. Circular 1-1/4"-2" works.

I'm inclined to go with 4x4 posts with a 2x6 flat top railing (for setting drinks on), then 7 cables strung horizontally between them. (This works with a 2x4 vertical under the 2x6 top rail.)

Proceeding Incrementally

So I fixed the post light and the side gate. I'm thinking about the deck. I resolved the communication wire situation.

Now, I'm thinking I can repair the holes in the siding and eaves and paint the exterior of the house a little at a time. My plan is to:

  1. Remove the unused wires (tons of cable TV wires, still) and miscellaneous cup hooks and other oddments.
  2. Scrape the flaking paint (particularly behind the dishwasher, where the downspout failed.
  3. Putty and otherwise close the holes (looking at you, yellow jacket entry point above the stove).
  4. Prime the bare wood to protect it.
  5. Then--why not?--paint a little like I did a year ago.

I suppose I'll paint the downspouts, just to make them standout less
Painting this was a pleasant experience--filling, priming, sanding--and it looks very nice from the kitchen window. Even better now, without the wires.

I think of this every Spring, it seems: 2018: Color Concept. 2019: Exterior Color Board Last year, I settled on a subtle gray-green: Exterior Colors Examples.

The house is currently bright white over dark blue. The blue used to be dark green, as I have exposed in places. I prefer one color, like this test, but not as dark. I went with Sherwin-Williams Acier (SW 9170, 244-C4) with a Light Reflective Value (LRV) of 32. If I picked up a couple of gallons of, say, Repose Gray (SW 7015, 244-C1) with an LRV of 58, it would make a nice, neutral undercoat for whatever I finally decide. Meanwhile, the freshly-painted walls make the house look more cared for and help protect the wood.

Notice the quarter-round at the soffit--I'll keep that white.
The plan is to leave the underside of the eaves bright white. The primer I use to patch the holes and wire damage should pretty much blend in. By only dealing with the walls, I can put off fixing the gutters and replacing rotted fascia boards, of which there are many.

Some people, such as my lovely wife, would approach the problem differently:

  1. Demolition, including rotted wood
  2. Construct new walls, replace rotted wood
  3. Do all the building before doing any finishes
  4. Decide all the finishes--how will tile work with paint, and so on.
  5. Lastly, paint.
I'd rather not: a) push everything into the future, waiting for a comprehensive design; or b) have to live at Step 3 because I got distracted, which I am prone to do.

Thursday, March 19, 2020

Roof Cleaning No. 2

I met Eric Johnson when he cleaned the Gadgil's roof across the street. He quoted me just $465 for roof and gutter cleaning and moss treatment. In 2017, I paid over $800.

Eric Johnson
A Fine Reflection, Seattle
206-355-2349


He arrived about 10am and left before 1pm. ($155/hour, not including his travel time from Renton.) I was prepared to pay $512, with a 8% tip, so I had $550 cash ready. He said he wouldn't charge tax if I was paying cash. (That is, of course he pays the sales tax as required by law, but he would adjust his price down. That's what I assume.) I gave him $550 anyway, making it an 18% tip. Not too far overboard. 

Eric's company also does interior and exterior window cleaning (not interior during quarantine) and maybe he's a good guy to build a relationship with.

Thursday, May 16, 2019

The Stand

So, the high-end Makita LS1030 miter saw has been waiting patiently for the new workshop. It's the most expensive tool I own, and I've used it to create cabinets and miter casing and other molding.

To top off the workshop project, I ordered a $100 steel miter saw stand. Usually, when you get a new thing there are missing parts, or it doesn't work as you expected. In this case, I got a very good product--it's heavy and therefore sturdy. Someone wanting "portable" might be disappointed.
A smiling box left at my "front" door. Sticker says "Heavy" on the front.
The stand has detailed instructions until they just stop--there's no explanation for how to attach the rollers, for example. But it's pretty self-evident.
Solid steel. There are only two price points if you're shopping: $100 or so, and $200 or so. You can buy a $79 stand, but I wouldn't recommend it.
Here's the problem: The Makita saw isn't quite up to snuff anymore. It's at least 10 years old (I'm trying to remember if I had it at Johnson, making it 27 years old). The Makita site lists the LS1030 as "discontinued." The design didn't anticipate miter saw stands like this--it's only got two bolt holes, whereas all modern saws have four. There's a "foot" at the center back, but it doesn't have a hole to accept a bolt.

I can use some of the perforated angle I used on the garage door track to provide a surface for that foot to rest on, but it won't be bolted down. I could fabricate some kind of a "holddown" device using plumber's tape. I know! Bungee cords!

Speaking of cords, though...
The insulation on the cord is just disintegrating. It's bad at the tool, but there are failures all along the cord.
Bolt in front (left), no bolt hole in back (right). Center "foot" hiding behind the cord. I could bolt an angle to span between the supports, but I still couldn't bold it down.
I plan to use the miter saw repairing/replacing the back deck, installing baseboard, replacing the casing molding at BR3, and perhaps doing some kind of wainscoting and crown molding in the living/dining room. I don't expect to need a table saw, and I have my eye on a track saw instead of a heavy duty circular saw. I have a Ryobi cordless circular saw that cuts 2x4s pretty well, but...

So, maybe I need a new miter saw. What I have is a "chop saw"--you can only change one angle. A compound miter lets you tilt the blade as well as setting the table angle. More advanced than that is a sliding compound miter saw. I have a 10", but pros often use 12". Without checking prices, I'm pretty sure I'd like a 10" compound, non-sliding model. Again, without looking at prices, I'd choose DeWalt.

That would be the DeWalt DW713, Amazon sells it for $231.08 (including tax). Home Depot and Lowes $241.12.

Doing a little research, I might want a dual bevel model, so that you can leave the wood where it is and cut the reverse miter. (The alternative is to swing the wood around to the other side.)

Lowe's has these 10" non-sliding miter saws, all single bevel. Delta $117.07; Hitachi, metabo $139; Craftsman $149; Hitachi C10FCH2 Laser $179.59; DeWalt DW713. I might like the more expensive Hitachi, but it is currently unavailable.

Home Depot has Genesis $117.73; Ryobi $135; Shopmaster $179; DeWalt DW713; Ridgid dual bevel $219;

Steps Project

I want to remodel the whole front yard. New hardscape, and so on. But at the moment, my path from the driveway to the house is only barely w...